
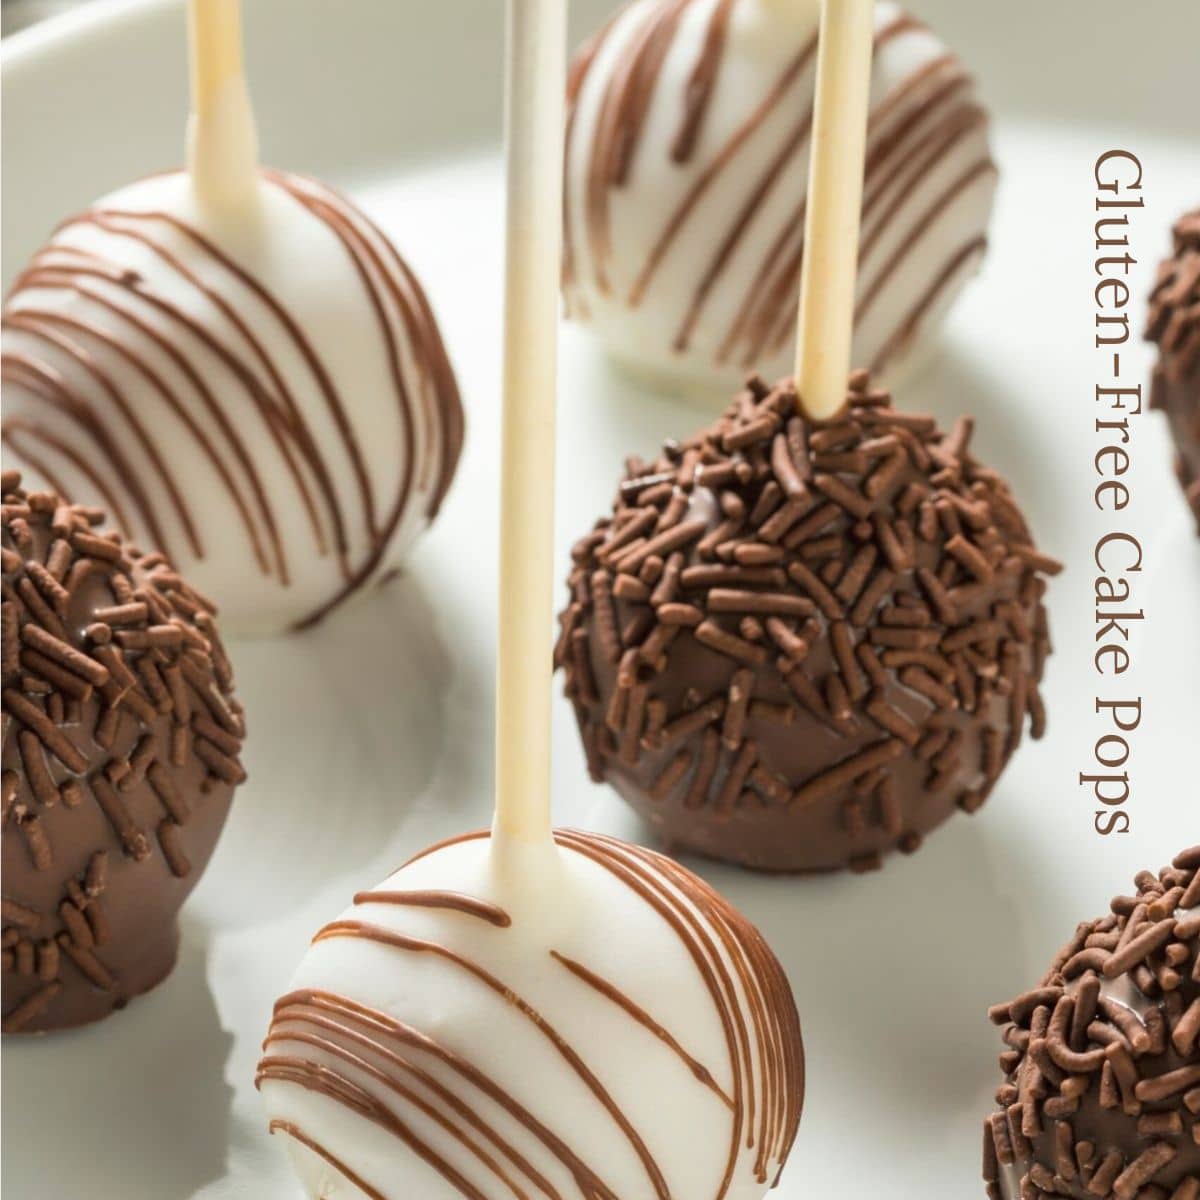
These chocolaty Gluten-Free Cake Pops are a delicious kid-friendly treat that can be made and decorated for holidays, bake sales, or any occasion! Grab some lollipop sticks and a few simple ingredients, because you are going to love making this easy cake pop recipe! I share easy-to-follow step-by-step photos and directions!
This post may contain affiliate links. Please read our Disclosure Policy.
❤️ Sandi’s Recipe Summary
Have you tried making gluten-free cake pops yet? They are such a fun treat to make. They are bite-sized, a little fancy, and always a hit with kids and adults. The best part is how easy they are to customize. Start with your favorite gluten-free cake and turn it into chocolate cake pops, vanilla cake pops, or even gluten-free churro cake pops with warm cinnamon flavor.
I also include a dairy-free option so more people can enjoy them. You can use a homemade cake or a store-bought gluten-free cake mix, making this recipe great for any season and any skill level.
Gluten free cake pops can be made in a variety of flavors and colors. Whether you prefer chocolate, vanilla, or something more exotic like carrot cake or lemon, there’s a cake pop flavor for everyone!
If you are baking a cake, you can check out my Gluten Free Baking Tips and my Gluten Free Cake Troubleshooting Guide if you need further help.
Ingredients Needed:
For the full list of ingredients and amounts, please go to the recipe card below.
- Gluten Free Cake – Use any of my gluten free cake recipes or gluten free cupcake recipes to make cake pops. You can also use a boxed cake mix.
- Frosting – Homemade or store-bought.
- Chocolate Melting Wafers – I like Ghirardelli best. Note that Wilton and other brands of candy and chocolate are made on shared equipment with wheat.
- Sprinkles – Check this list to be sure your sprinkles are gluten free and not made on shared equipment, like many popular brands are.
How to Make Gluten-Free Cake Pops (Step-By-Step)
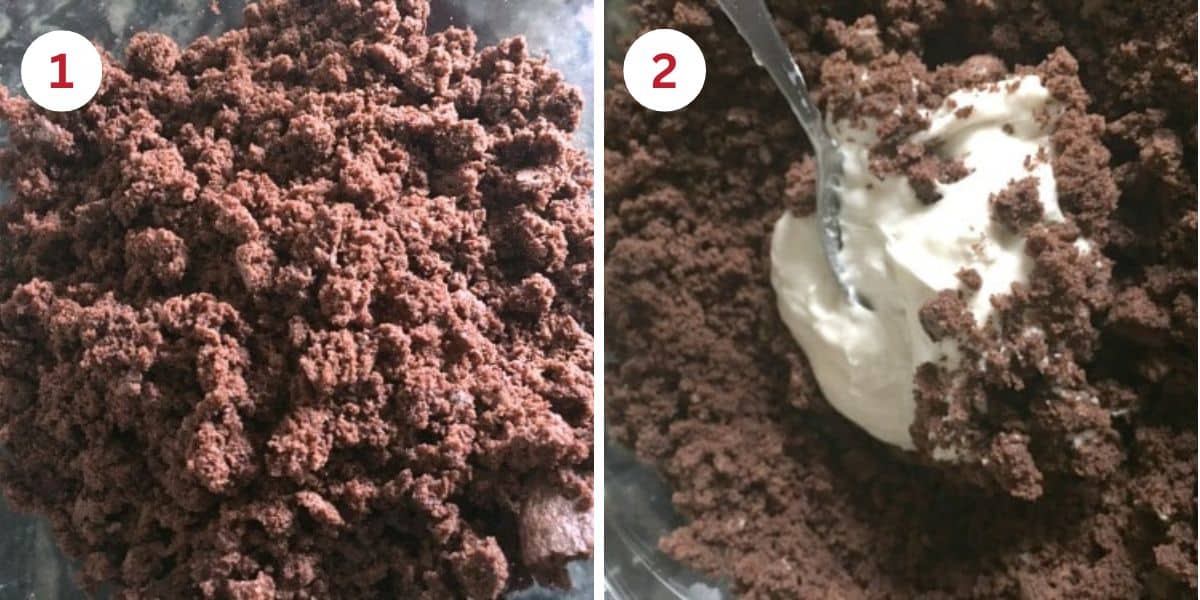
Step 1: Add cake to a large
Step 2: Add the frosting to the smooshed cake. Mix well until you have a pasty, cake-like mixture.
Email This Recipe To Me!
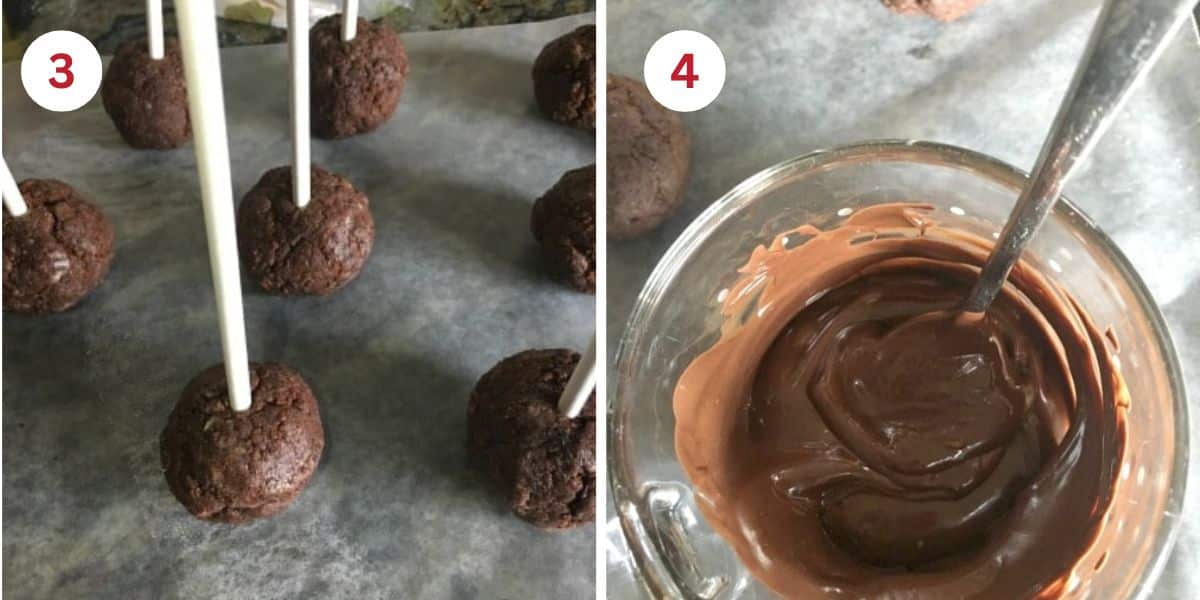
Step 3: Roll chunks of cake batter into balls and place them on a baking dish lined with wax paper. You can also use this fancy cake pop kit.
Step 4: Melt some chocolate in a microwave-safe dish, then dip a lollipop stick into it. Quickly push the chocolate-dipped lollipop stick into a cake ball and allow it to set. Repeat until every pop has a stick.
Step 5: Freeze the gluten free cake balls with the sticks for 30-45 minutes or refrigerate for 2 hours to solidify the sticks. Dipping them into the melted chocolate will keep the sticks attached to the cake balls.
Step 6: Add your chocolate melting wafers to a small microwave-safe dish. Be sure the dish is deep enough to dip the cake balls in. Melt the chocolate in 10-second increments.
You can use milk, dark, or white chocolate, or any chocolate flavor. If you want colored cake pops, use colored melting wafers (available at most grocery stores) or add a few drops of food coloring.
Step 7: Dip each pop into the melted chocolate and dust with your favorite sprinkles. Place the cake pops back on the wax paper and refrigerate for 45-60 minutes. Enjoy!!
🔑 Sandi says: To prevent cracking, ensure your cake balls are at room temperature before dipping them into the melted chocolate!
Frequently Asked Questions:
You can use store-bought frosting to make these gluten free cake pops. If you prefer homemade frosting, here is a fantastic gluten-free frosting recipe.
If you dip cold cake pop balls into hot, melted chocolate, it will cause cracking. When your cake balls are dipped in chocolate and warm after refrigeration, they expand a little, which will crack the chocolate.
Cake pops can be made in any size, but note that the larger they are, the heavier they are, and the higher the risk of them breaking off the stick.
Cake pops will last 4-5 days in the refrigerator. You can make them last longer by freezing them. You can freeze the cake balls, then defrost them when you are ready to dip them in chocolate and eat them.
You can skip the sticks altogether if you prefer a truffle-like cake ball!

Storage and Freezing Directions:
Store these cake pops in an airtight container in the refrigerator. They will keep fresh for up to 4 days. You can also freeze the cake pops in a freezer-safe bag. I recommend freezing the cake balls. Thaw, insert the sticks, and then dip and decorate them.
More Gluten-Free Giftable Dessert Recipes:
- These Gluten-Free Chocolate Crinkle Cookies get rave reviews. They are so chocolaty!
- If you need a great dessert for a wedding or New Year’s party, try my Mini Gluten-Free Champagne Cupcakes.
- Gluten-Free Cakesicles are a bigger but similar take on cake pops. They are also great for any holiday or party.
Love This Recipe?
If you made and enjoyed this recipe, I would be incredibly grateful if you could leave a comment below. Please include which flour blend you used. This will help others know this recipe is delicious. Thank you!

Easy Gluten Free Cake Pops Recipe
Ingredients
- 2 cups gluten free chocolate cake baked
- ½ cup frosting
- 1 ½ cups dark chocolate
- sprinkles optional
Instructions
- Add the baked cake to a bowl and use your hands to smoosh it up.
- Add frosting and mix it in with your hands or a large spoon until it forms a ball.
- Use a small cookie scoop to break off small bits of cake pop dough and use your hands to roll it into balls. Place on wax paper.
- Melt 2 tablespoons of chocolate in a microwave safe dish for 15-20 secons.
- Dip a lollipop stick into the melted chocolate, then stick into each cake pop. This will help keep the stick in each cake pop.
- Freeze for 30-45 minutes or refrigerate for 2 hours.
- Remove the cake pops from the refrigerator. Melt the rest of your chocolate in a microwave-safe dish. I recommend doing this at 15-20 second intervals, stirring between each interval to prevent burning.
- Dip each cake pop into the melted chocolate. Cover with sprinkles if you like.
- Place in the refrigerator 1 hour until chilled.
Notes
- You can use any cake flavor to make these gluten free cake pops! I have 75+ cake recipes to choose from.
- Use any gluten free cake flavor recipe you like or use boxed gluten free cake mix.
- Feel free to use store-bought frosting, or make your own.
- Be sure you check to ensure that your sprinkles are gluten free.
- These cake pops will last up to 5 days in your refrigerator, or freeze them for up to 4 months.
Email This Recipe To Me!
SPECIAL NOTE
Please know that every gluten free flour blend has a different starch to grain ratio. If you use a blend I didn’t test, my rule of thumb is to add more flour if your dough or batter is wet and add more liquid if the dough or batter is too dry!
Nutrition
Nutrition Disclaimer
Nutritional information is an estimate provided to you as a courtesy. You should calculate the actual nutritional information with the products and brands you are using with your preferred nutritional calculator.
This post was updated from an older February 2018 post with more details and tips.
I truly hope you enjoy this recipe. I have been testing and creating gluten-free recipes for over 15 years. Creating gluten-free recipes that do not taste gluten-free is my goal for every recipe. Sometimes I only have to test a new recipe a couple of times, and others it takes multiple times. I do this so you get reliable, delicious results every time!

Hi Sandi!
Just wondering if you have a recipe for the frosting if it were to be homeade 🙂
Hi Leah, I have a lot of great frosting recipes. Here you go: https://www.fearlessdining.com/how-to-make-creamy-gluten-free-frosting/
My cake pops crumbled when dipped in the chocolate !!!🫣
Hi Nancy, how long did you chill your cake pops? This can happen if they are not chilled enough, or if there wasn’t enough frosting holding them together.
How many does this recipe make
Hi Laurel, it depends how large you make the cake pops. I ended up with 15 medium sized cake pops.
Really good