Baking a gluten-free pie can feel overwhelming at first, but even beginners can make a perfect pie with the right tips and guidance. Let’s tackle the common pie issues together in this gluten-free pie troubleshooting guide and learn how to make the perfect gluten-free pie crust! You are going to love how well your gluten-free pies turn out!
This post may contain affiliate links. Please read our Disclosure Policy.
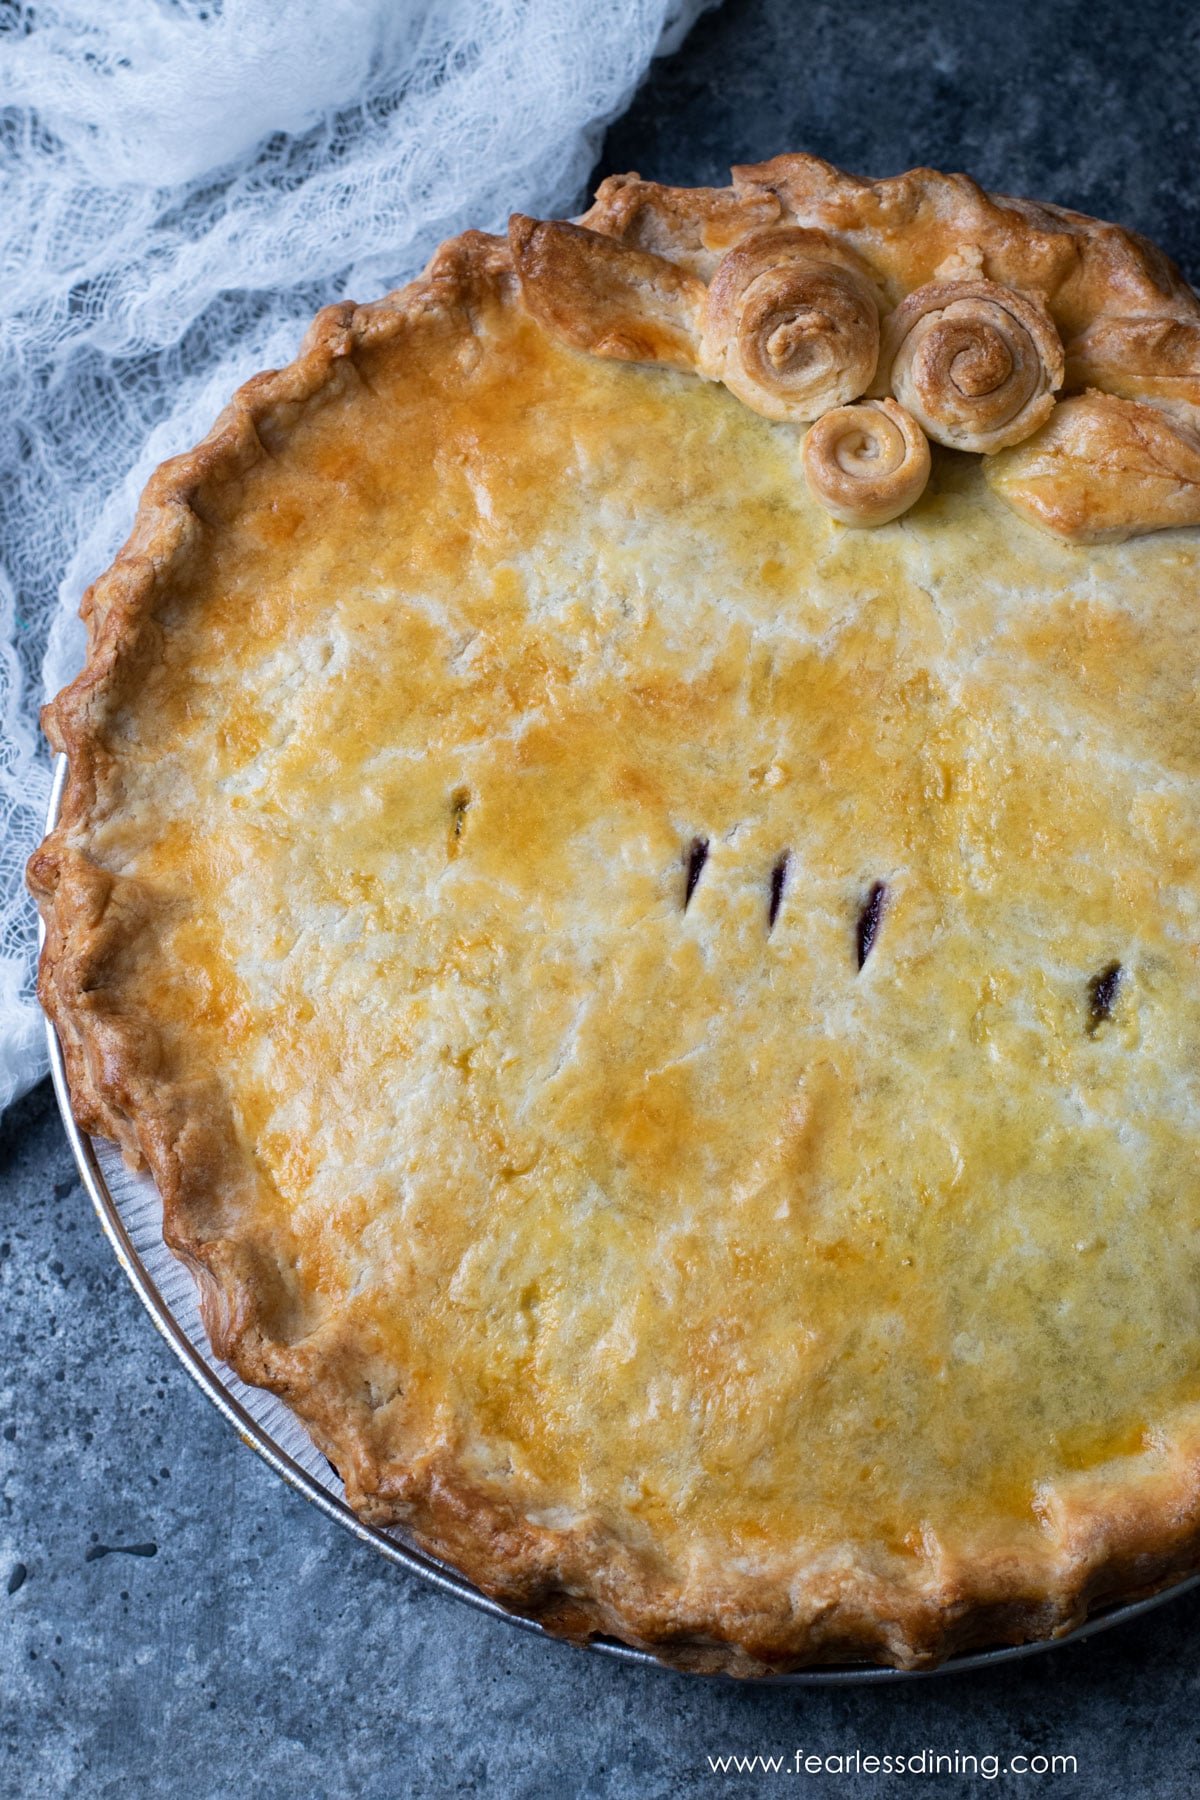
🔑 Sandi says: This is a long article, chock full of tips and fixes to make a great gluten-free pie crust. If you are short on time, use the Table of Contents to jump to sections where you need help.
Nothing beats a great gluten-free pie. It should have a deliciously flaky crust with buttery, flaky layers. If you love pie but struggle to make a great pie, this article is for you. I am sharing all my tips so you can bake a great pie for Thanksgiving, other holidays, or special occasions. Whether you are baking your first holiday pie or troubleshooting a pie crust any time of year, these fixes will save your bake.
Baking for Thanksgiving? See the Make-Ahead section below. (You can find it quickly using the Table of Contents.)
I have never made a piecrust from scratch in my life…But we have some gluten sensitivities in my home and I thought I would give it a try. I have been buying store-bought gluten-free piecrust. I cannot believe how simple and easy this recipe was and how incredibly delicious this piecrust tasted. I really didn’t expect it to taste good, but it was fantastic and I think I may have given up on store-bought pie crust forever.
Amy, blog comment
If you want to make a pie, start by using the best recipe, like my popular Gluten-Free Pie Crust recipe. It is a reader favorite and has earned rave reviews! I also have a great Gluten Free Sourdough Discard Pie Crust if you prefer to use some of your sourdough discard.
I have so many incredible homemade gluten-free pie recipes for you to practice on. Here are 50 Gluten-Free Pie recipes for every occasion!
Beginner Tips For Making the Perfect Gluten-Free Pie Crust:
- Measure Precisely: When measuring flour, I prefer two methods. The spoon method: Use a spoon to fill the measuring cup. Use a knife to level the top and remove any excess flour. The leveling method: Place the measuring scoop into the flour and fill. Do not pack the flour. Use a knife to scrape along the top to remove the extra flour. Weighing flour can be tricky if you use a blend the recipe creator didn’t test. Every gluten-free flour blend weighs differently, depending on its starch-to-grain ratio. This article explains why gluten-free flour blends weigh differently and gives some interesting examples. This article explains why gluten-free flour blends have different weights.
- Keep Ingredients Cold: Cold butter and water are needed for flaky crusts! There are two ways to add cold butter to the dry ingredients while keeping it cold. You can either use a pastry blender to break up the butter into the flour or freeze the butter and shred it into the flour with a cheese grater. Cold butter bits create steam pockets, which make those yummy flaky layers.
- Have Patience: Gluten-free dough is delicate. Take your time and handle it gently. I find it easiest to move a pie crust to the pie pan by picking up the rolled dough on the silicone mat, inverting it over the pie pan, and then gently peeling the crust off into the pie pan.
- Experiment: Do not be afraid to try different gluten-free flour blends and techniques to see what works best for you. Each blend has a different starch-to-grain ratio, which can affect how your crust turns out. Find the flour blend that works best for you. After a lot of trial and error, I decided that using a silicone mat was my favorite way to roll out the dough. Many people like using my Gluten Free Pastry Flour Blend to make their pie crusts.
Make Ahead Pie Crust Tips:
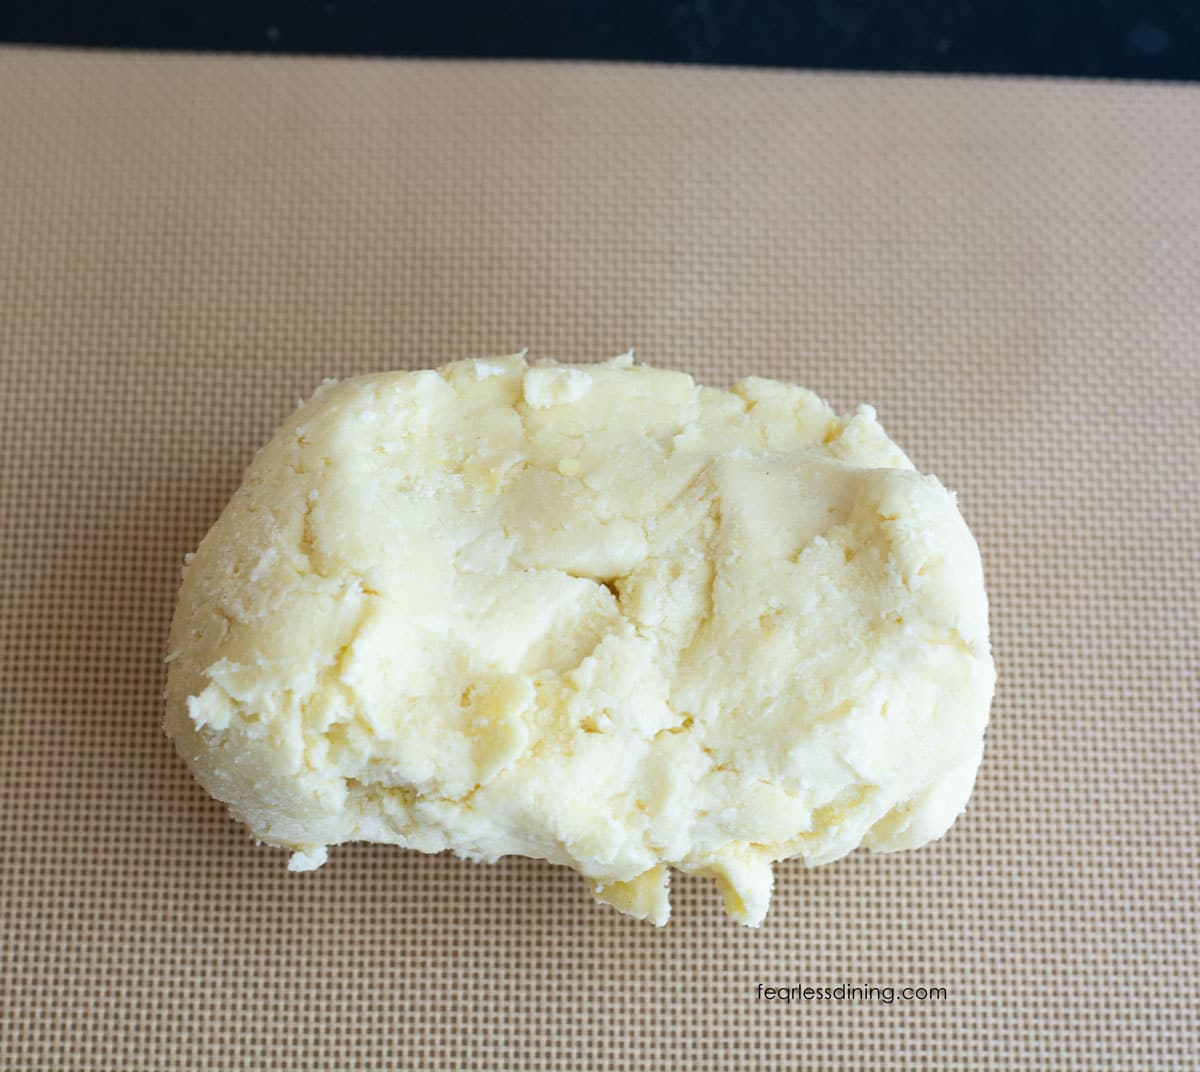
Gluten-free pie crust holds up well when made ahead, which is great news if you’re prepping for a big holiday meal. You can freeze the pie dough, or freeze it as a crust and bake it later. Here are simple directions on how I freeze both:
Freezing Your Gluten Free Pie Dough:
If you plan to freeze your pie dough, I recommend making it no more than 1-2 weeks ahead. This helps you avoid risking freezer burn. If you have a vacuum sealer, you can make it up to a month ahead, since it helps preserve frozen foods longer.
Prepare the pie dough as I describe in my gluten free pie crust recipe, linked at the top of this article. Keep the dough very cold. Wrap the dough ball tightly in plastic wrap, then place it into a freezer-safe container or freezer bag. If you use a freezer bag, squeeze out the extra air before sealing it.
To thaw, let the pie dough sit in the refrigerator overnight, or on the counter for 1-2 hours, until the crust is cold enough to preserve the butter bits but soft enough to roll with your rolling pin.
Freezing Your Gluten Free Pie Crust:
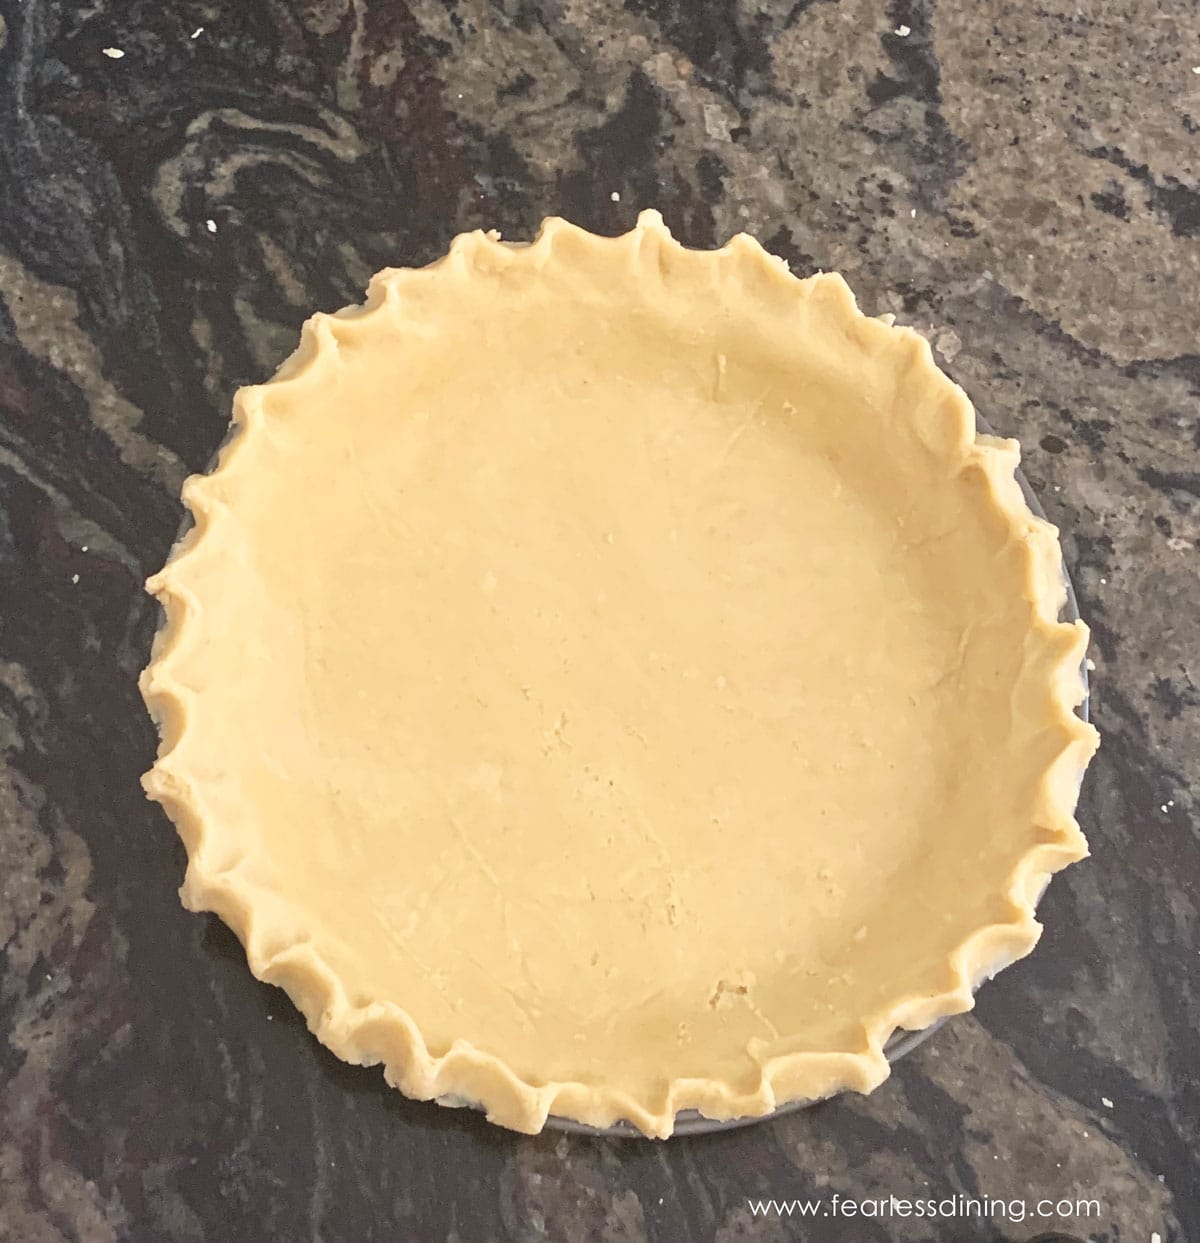
If you prefer to freeze your gluten free pie dough in the pie pan, make the dough and roll it out. Place the crust in the pie pan and scallop your edges as I describe in my gluten free pie crust recipe.
Flash freeze the pie crust for 1 hour. I recommend this to help prevent the scalloped edging from getting crushed. Once it is mostly solid, slide the crust into a gallon-sized freezer-safe zipper bag.
I do not recommend thawing the pie crust before baking. If you keep the crust frozen, the butter stays solid longer before it starts to melt, which helps create steam pockets for flakiness. Thawing first gives the butter more time to soften at room temperature, which can make gluten-free dough and prevent the crust from turning out flaky.
Top Pie Crust Problems:
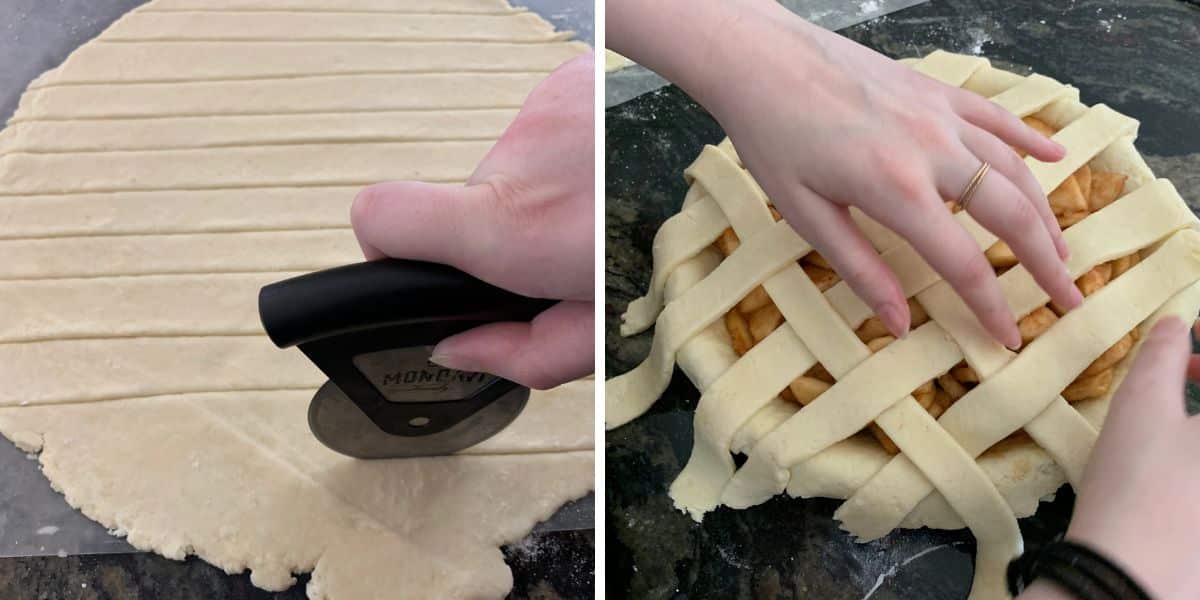
Once you make the bottom crust, the top crust brings its own set of challenges, from uneven browning to a lattice that won’t cooperate. First, decide what type of top crust you want. I have a great tutorial on how to make a lattice crust in this Gluten Free Apple Pie recipe.
Why Didn’t the Pie Top Bake Evenly?
If your pie top didn’t bake evenly, check these potential causes:
- Did you brush the egg wash evenly over the crust before baking? Brush the egg wash evenly across the whole crust, missed spots bake paler than the rest.
- How thick was the dough rolled, and was it rolled out evenly, meaning it had equal thickness across the whole crust? Uneven rolling means thinner spots brown faster than thicker ones. Aim for consistent thickness across the whole crust.
- Does your oven have hot spots? Rotate the pie halfway through baking if one side consistently browns faster
- If you are using a solid crust, did you cut a few slits to let moisture from the filling escape through the top? Cut a few slits to let steam from the filling escape, trapped moisture underneath can leave pale, soggy patches on top
Email This Recipe To Me!
How To Repair Ripped Pie Crust Lattice:
Gluten-free pie dough can be more delicate, which can lead to tears when you’re making a lattice pie crust.
It is important to make sure your gluten-free flour blend includes a binder such as xanthan gum, guar gum, or psyllium husk. Binders help hold your baked goods together. Read Why Binders Matter in Gluten Free Baking to learn more.
If the lattice strips are breaking a lot, your dough may be too thin, or it may have gotten too warm, and the warm butter has made it more fragile. Stop what you are doing and put all of the dough into the refrigerator to chill.
To repair a torn lattice strip of dough, press a small piece of leftover dough over the tear and smooth the edges with a wet finger. It may leave a slight line, but it will hold up for baking.
The Gluten Free Pie Crust is Too Crumbly:
You are trying to roll your gluten-free pie crust to the perfect size and thickness. The dough fell apart when rolling or transferring the crust to the pie dish. This is a common issue and has happened to me too! Here are a few solutions to try:
- Add More Moisture: Gluten-free flours soak up more liquid than wheat flour. And to make it even trickier, every gluten-free flour blend has a different starch-to-grain ratio. This means what works with one flour blend may not work with another without tweaking. Start with the dry and wet amounts the recipe calls for. After mixing the dough, if it feels dry, add more cold water or milk, one teaspoon at a time, until it comes together. (On the other hand, if the dough is too sticky, add more flour.)
- Use a Binder: Gluten-free dough needs help staying together. If your recipe doesn’t include a binder, be sure to add 3/4 teaspoon of xanthan gum or another binder to your recipe.
- Chill the Dough: When making a pie crust, using cold ingredients and cold dough is really important to get those flaky layers to stick together. Refrigerate the pie dough for at least 30 minutes to help it firm up and become easier to handle.
The Crust is Tough or Gummy:
You baked your gluten-free crust, and it turned out chewy or dense instead of flaky. Be sure to:
- Do Not Overmix or Overwork the Dough: Mix the ingredients until they are just combined. Overworking gluten-free dough can melt the cold butter bits, eliminating the flaky layers.
- Use Cold Butter: For flakiness, keep your butter or shortening cold. I like to place the butter in the freezer, then use a cheese grater to grate it into the flour. When the butter is frozen, it gives you incredible flaky layers. These cold butter bits are what create the flaky layers.
- Pick the Right Flour Blend: Look for a gluten-free flour blend for baking. Do not use a flour blend with bean flour, or your pie will have a bitter aftertaste. I wrote about which gluten free flour blends work in which types of recipes as a guide to help you.
- Pre-Bake (aka a Blind Bake): Depending on the type of pie you are baking, partially bake the crust before adding the filling. This helps it stay crisp and flaky.
The Gluten-Free Dough is Sticky:
This one drives me crazy. I hate it when the pie dough sticks to my hands, the rolling pin, or the work surface. You can see this if you do not use the exact blend used by the recipe creator. Every gluten free flour blend has a different starch-to-grain ratio
- Chill Thoroughly: If your butter is too wet, it will be more melted and can add to the dough’s stickiness. Cold dough is much easier to work with! If it’s sticky, pop it in the fridge for 20 to 30 minutes.
- Dust the Surface: I always sprinkle a little gluten-free flour over my silicone mat and rolling pin. This helps prevent the dough from sticking to the mat or rolling pin.
- Roll Between Sheets: I don’t often roll dough between sheets. I find it easier to use the silicone mat I mentioned above. If you prefer to use sheets of plastic wrap or parchment paper to roll your pie crust, it will help prevent sticking.
- Adjust the Amount of Flour: If your dough remains sticky after chilling, add a tablespoon of gluten-free flour at a time until it is workable. This is a common adjustment needed when using gluten-free flour.
The Crust Burns Before the Pie is Finished Baking:
Are the pie edges of the crust getting too dark while the filling bakes? Nobody wants burnt pie crust edges, and luckily it is an easy problem to prevent.
- Cover the Edges: Use a pie crust shield or strips of aluminum foil wrapped loosely around the edges to protect them from overbaking. Don’t forget to remove it after 10 minutes so the edges can bake golden.
- Lower the Oven Temperature: Baking at a slightly lower temperature for longer can help.
- Add Foil Midway: If the edges start browning too fast, cover them with foil halfway, or add the pie crust shield midway through baking.
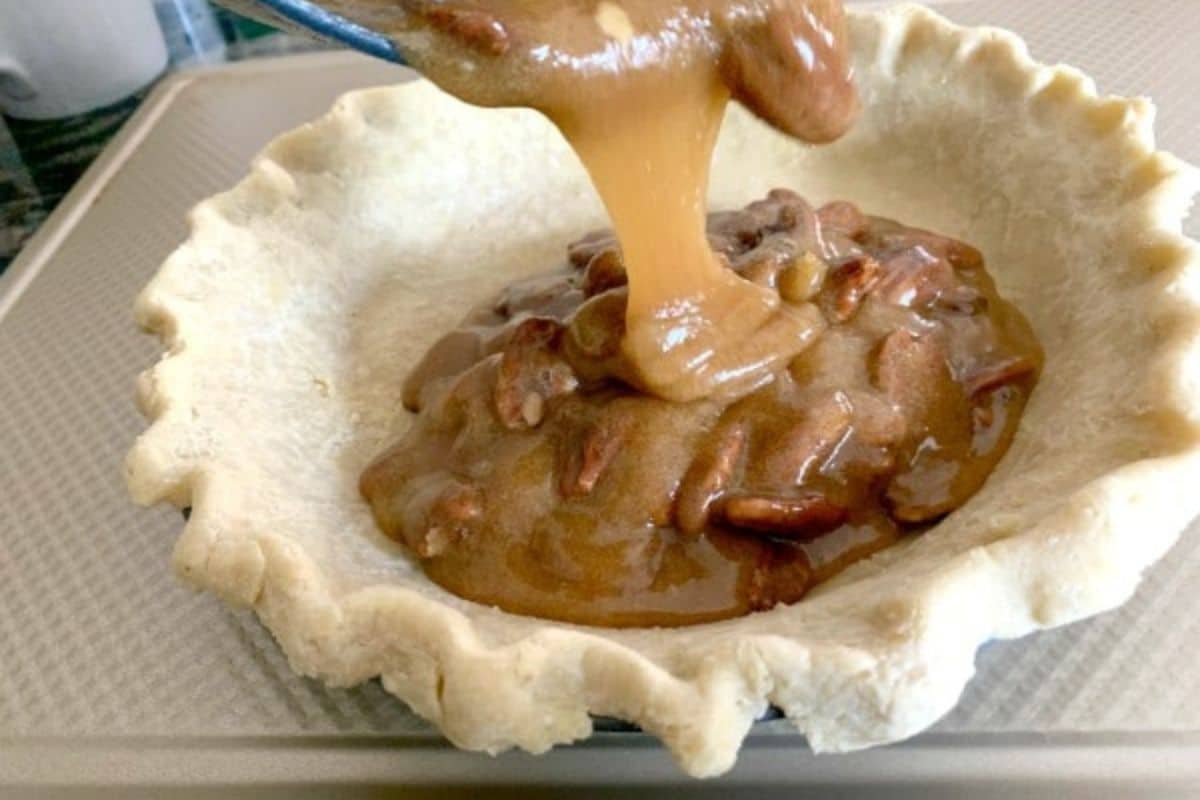
Why Didn’t the Filling Set:
How often have you made a pie and the filling is runny or doesn’t firm up after baking? It can be so frustrating! There are a few ways to fix this.
- Use a Thickener: Gluten-free pies often need starch like cornstarch, tapioca starch, or arrowroot to thicken the pie filling. Be sure to mix these well before baking. If a cream pie recipe you are following doesn’t include one of these, read the reviews carefully to make sure it is a good recipe.
- Bake the Pie Fully: Make sure the pie bakes long enough. Custard pies, for example, need to reach specific internal temperatures to set.
- Cool the Pie Completely: Many pie fillings set as they cool. Be patient and allow the pie to rest before slicing. I also find that letting the pie cool to room temperature on the counter, then finishing cooling in the refrigerator, helps.
- If it is a no-bake filling, try chilling it for longer in the refrigerator.
The Bottom Pie Crust is Soggy:
The bottom crust turns out wet or undercooked. A soggy crust can make a pie so gross. Do not let this happen to you. Here are some easy ways to prevent a soggy bottom crust.
- Blind Bake the Crust: Pre-baking the gluten-free crust for at least 10 minutes helps create a solid base that resists sogginess when you add the filling.
- Preheat Your Baking Sheet: Place the pie pan on a hot metal baking sheet in the oven to cook the bottom faster. This is a trick I often do. It is easy, and as a bonus, the baking sheet can prevent any pie juice from getting on the bottom of the oven.
- Brush with Egg Wash: Before adding the filling, lightly brush the crust with beaten egg white and bake briefly to create a moisture barrier. I haven’t tried this one myself, but several of my readers have recommended it.
The Pie Crust Needs More Flavor:
The crust is flaky but tastes bland. This is another easy thing to fix. Here are some tasty ways to add some flavor to your pie crust:
- Add More Seasonings to the Dough: Add a pinch of salt and/or a teaspoon of sugar to enhance the flavor.
- Use High-Quality Butter: Great butter makes a big difference in taste. I love using European butter, like Plugra or Danish Creamery, when making my pie crust because it has a higher fat content.
- Flavor Add-Ins: Try adding spices, a flavored extract, or even grated cheese for unique flavors. I also like to add a little lemon juice to boost flavor. For savory pies, grated cheddar cheese can add so much flavor to the crust! I used grated cheddar cheese for this Gluten-Free Hatch Chile Apple Pie recipe…it is a sweet pie with a kick of spice!
Creative Ways to Use Gluten-Free Pie Crust:
Why limit yourself to traditional types of pie? Gluten-free pie dough can be incredibly versatile! Here are some fun ways I like to use my pie crust dough:
- Hand Pies: Hand pies are a special treat. They are easy to make and fun to eat. You can even make Gluten Free Hand Pies in your air fryer!
- Pop Tarts: Who misses those classic Pop Tarts we had in our youth? I decided to create my own Gluten Free Pop Tarts recipe to satisfy my craving for this delicious family favorite.
- Mini Tarts: Use mason jar lids to create bite-sized tart shells. I used them to make mini single-serving Gluten-Free Grape Galettes. You can also fill them with custards, fruit, yogurt, or even chocolate ganache for elegant desserts.
- Quiche Crusts: Use the dough as a base for gluten-free quiches. Pre-bake the crust before adding the egg mixture to ensure it stays crisp. Try this fun Gluten Free Quiche recipe.
- Lastly, you can use a pie crust to make this British Gluten Free Bakewell Tart.
If you have loved this gluten free pie troubleshooting guide, I have more troubleshooting guides to help you become the best gluten free baker!
- Gluten Free Cookie Troubleshooting Guide
- Gluten Free Bread Troubleshooting Guide
- Gluten Free Cake Troubleshooting Guide
- Gluten Free Muffins Troubleshooting Guide
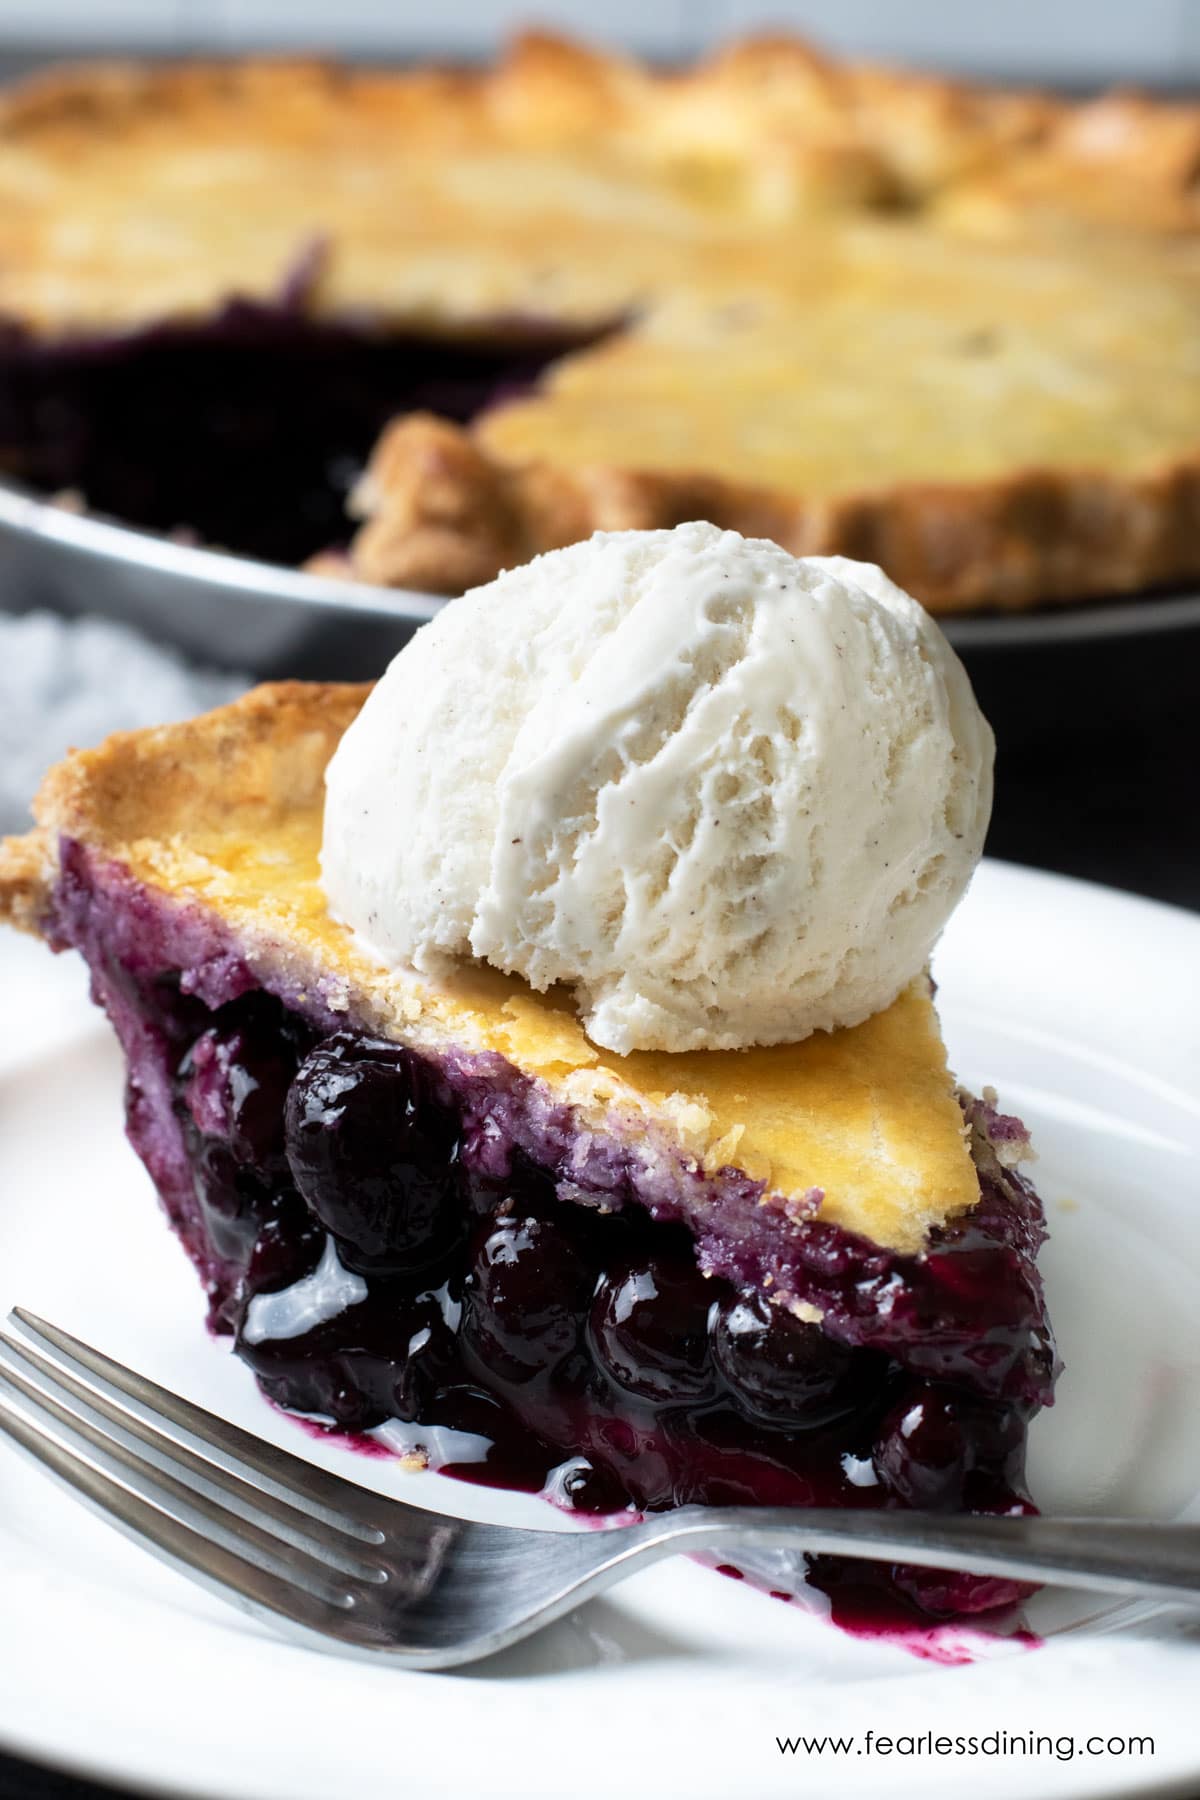
My Best Gluten-Free Pie Recipes:
- Mom’s Best Gluten Free Blueberry Pie (pictured above)
- Gluten Free Strawberry Pie
- Easy Gluten Free Mixed Berry Pie
- Homemade Gluten Free Pecan Pie
- Gluten Free Derby Pie
Have a favorite tip?
We would love to hear any great gluten-free pie-making tips you can share. Please leave a comment. Thank you!
I truly hope you enjoy this recipe. I have been testing and creating gluten-free recipes for over 15 years. Creating gluten-free recipes that do not taste gluten-free is my goal for every recipe. Sometimes I only have to test a new recipe a couple of times, and others it takes multiple times. I do this so you get reliable, delicious results every time!