This dairy-free, gluten-free vanilla cake is as stunning as it is scrumptious! Whether you are looking for a beautiful gluten free cake for your next birthday party, celebration, or wedding cake base, this will be just what you need. Come see why bakeries love making this recipe for their customers!
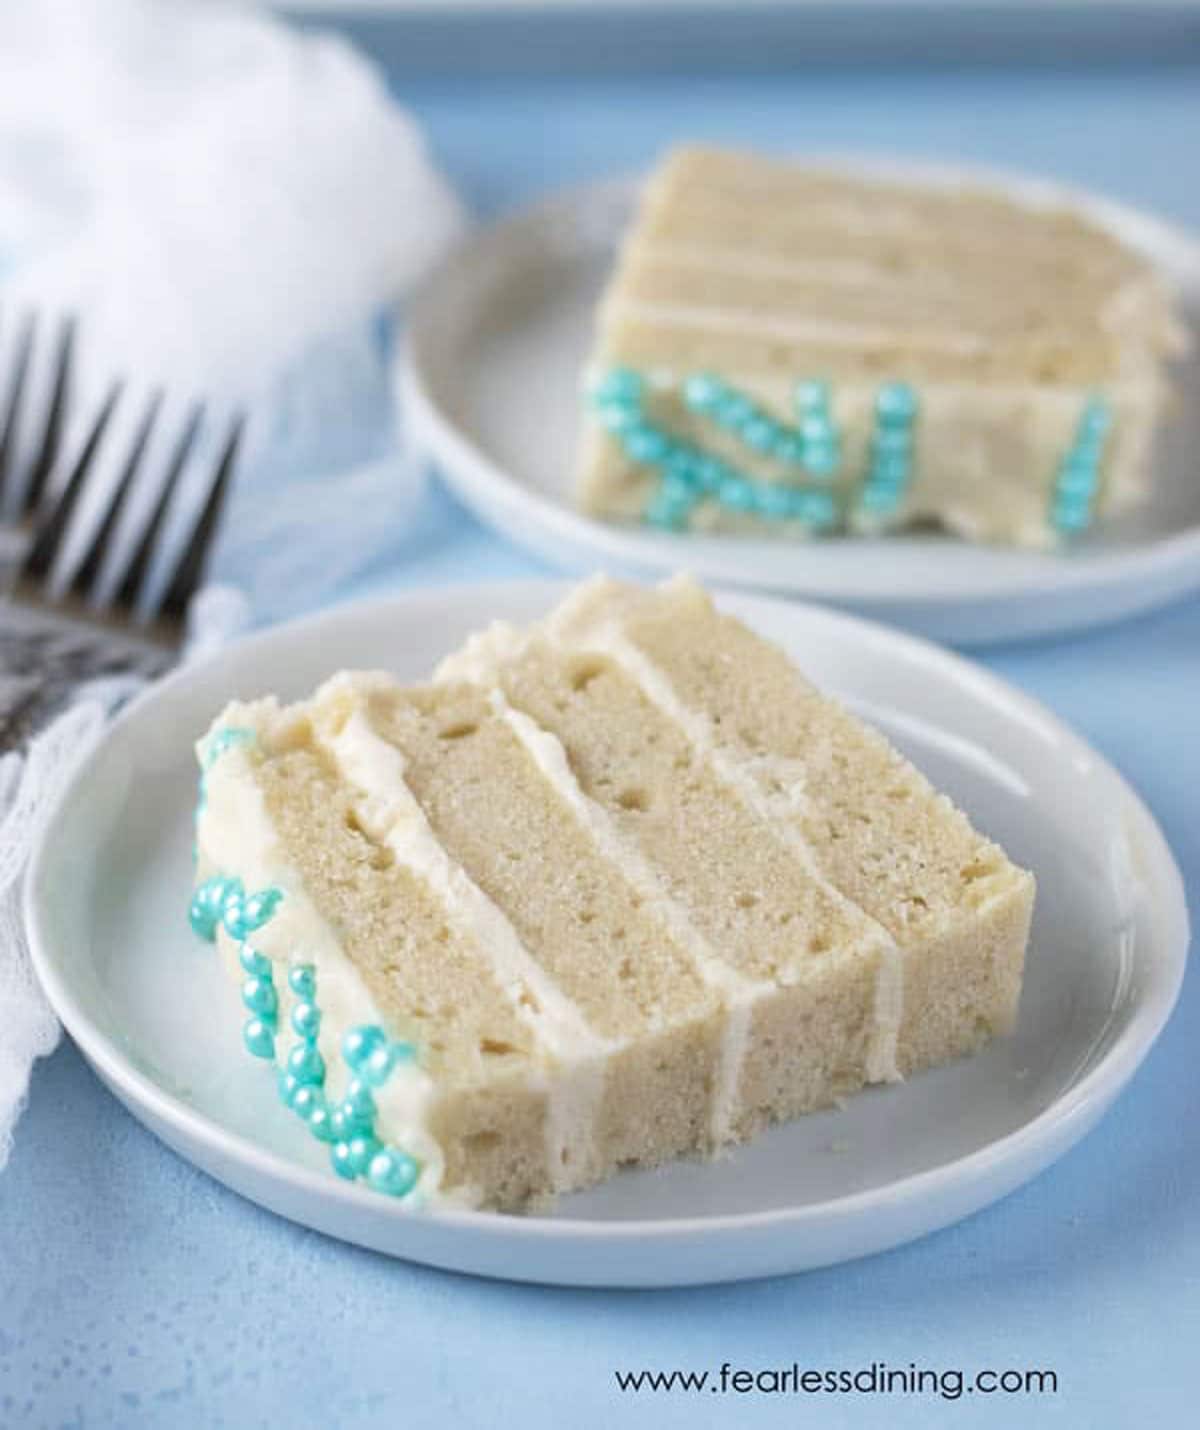
My daughter is very artistic, and she creates gorgeous mandala designs. I am so excited she made a mandala design out of sprinkles for this cake. No matter how you decorate it, this gluten free vanilla cake is going to impress! I am happy to say this cake is also dairy-free! Just use dairy-free frosting if you can’t have dairy.
If you love cake as much as we do, you will want to check out all of my gluten free cake recipes on the blog :-).
What sets my recipe apart:
Allergen Information:
This homemade vanilla cake is gluten-free, dairy-free, nut-free, oat-free, and soy-free.
Make It Vegan!
I’m a professional chef/baker and was looking for a great gf/vegan cake for our special clients with special needs. I researched plenty through the years and I absolutely loved this recipe. I subbed Bob’s Mill egg replacement and used lactose free half and half instead of milk, used half tsp salt and extra vanilla. It’s simple to make and one of the best gf cakes I’ve had. I made sure not to over mix. Thanks for this recipe!!! I’m keeping it my rotation.”
Laura, blog comment
This cake was insane! I added a tiny, tiny splash of almond flavoring. Topped with granadilla syrup and a simple whipped cream concoction. It was the best gluten free cake I’ve had in a while!”
Tamara C., Pinterest comment
As I mentioned, this gluten free cake is perfect for a party, a wedding (though you will need to triple the recipe or more depending on the number of guests!), or any occasion.
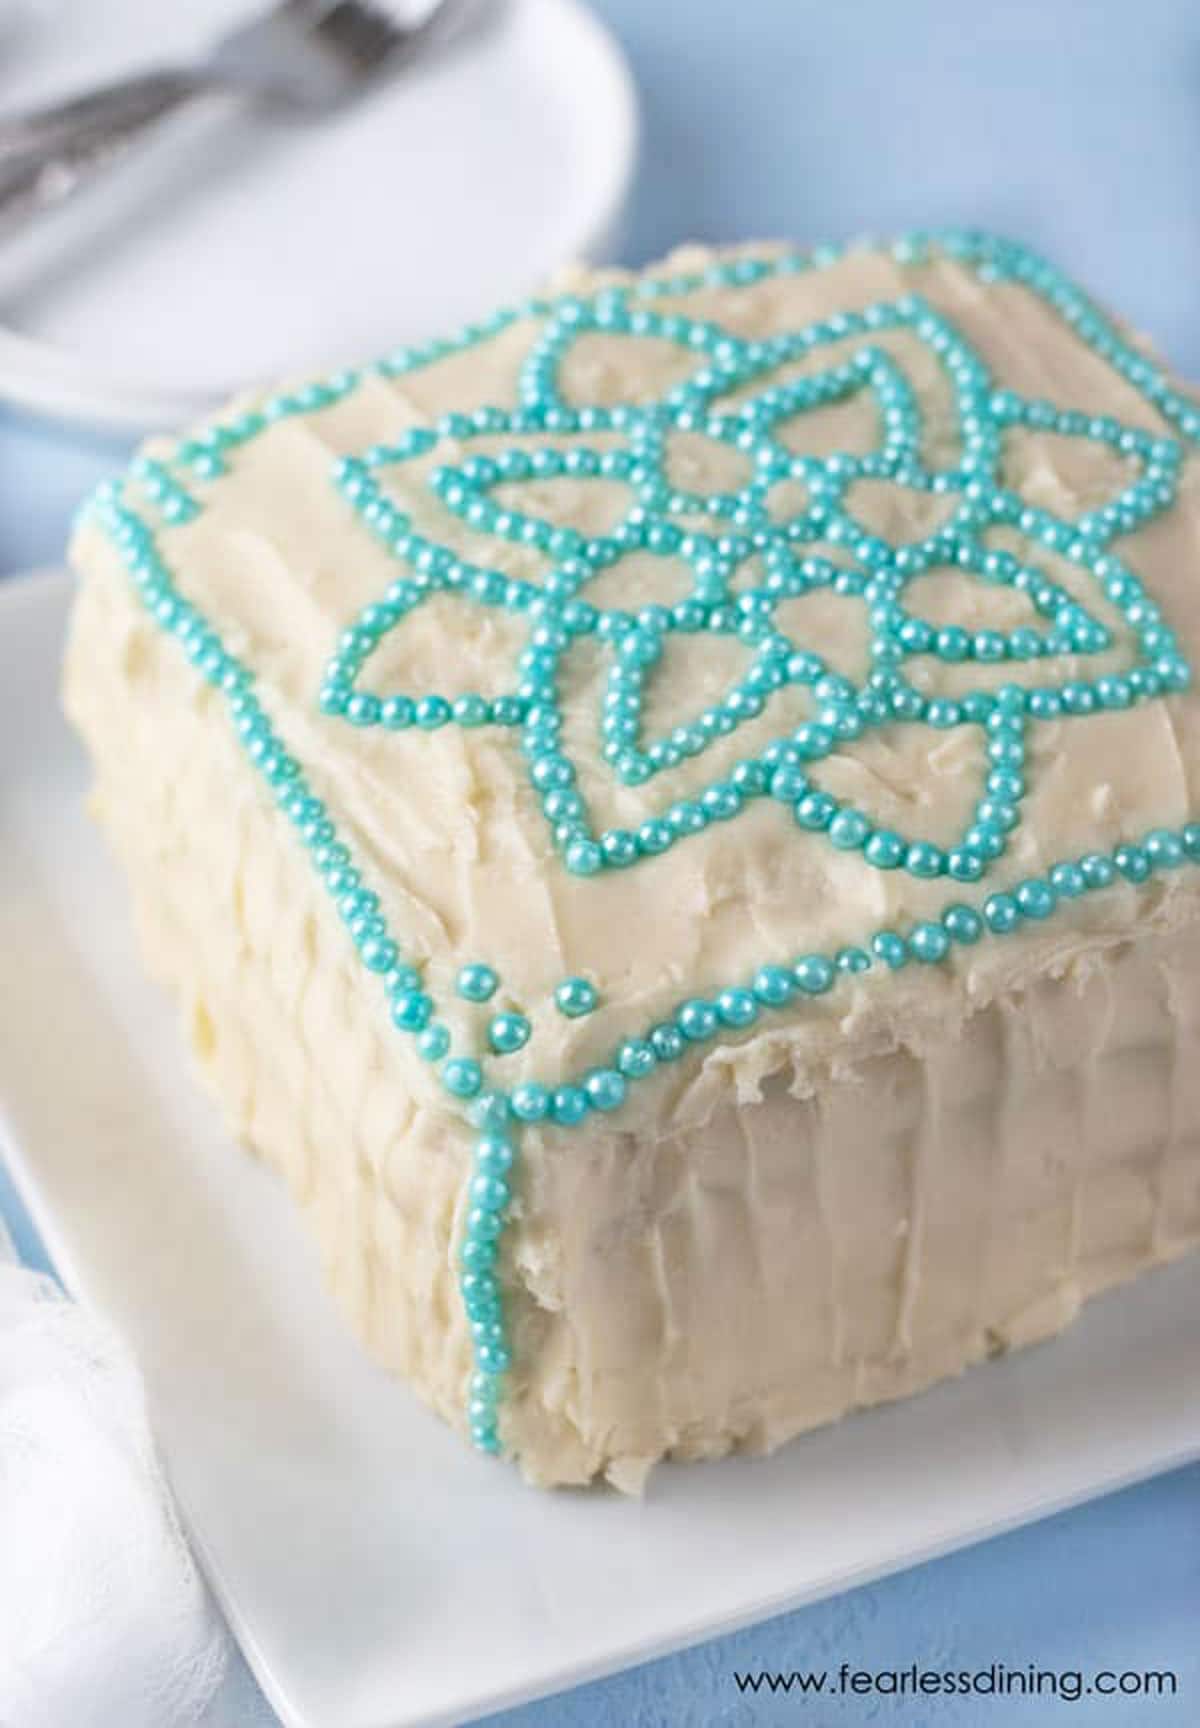
Ingredient Notes:
- Gluten Free Flour Blend – I have tested this recipe with King Arthur Measure for Measure GF and Bob’s Red Mill 1 to 1 GF blend. That doesn’t mean others will not work; I have not tested other flours.
- Xanthan Gum – If your gluten free flour blend doesn’t contain Xanthan Gum or Guar Gum, please add 1 teaspoon.
- Baking Powder – Use aluminum-free baking powder; it makes a difference in flavor.
- Light Oil – I like to use either avocado or canola oil. I don’t recommend strong-flavored oils like olive oil.
- Milk – I use almond milk as my non-dairy milk to keep my cake dairy-free, but any plant-based milk will work.
- Eggs – Size large.
- Vanilla Extract – I recommend using pure vanilla extract to make this homemade cake in a cake where the flavor is important.
- Cream Cheese – Any brand will work; you can check for gluten-free cream cheese. If you are dairy-free, Kite Hill makes good dairy-free cream cheese.
Having the right Tools for Making Cake is also important.
Reader Modifications:
1. Jennifer M. made this lemon-flavored cake by using lemon juice instead of vanilla and a few drops of yellow food coloring.
2. Trinity M made this into a large sheet cake to feed a crowd!
3. Julie S. used butter instead of oil, sour milk (buttermilk), and ¾ teaspoon of baking soda and said it turned out great.
Tips For Success:
- Do not use a standing mixer to make this gluten-free vanilla cake recipe! Your cake batter can get overmixed easily, and your cake will not turn out fluffy.
- Use pure vanilla extract and not imitation vanilla in this cake recipe. You will taste the difference!
- Periodically check your oven temperature to ensure it’s right. Otherwise, your cake and other baked goods will bake unevenly.
Step-By-Step Photos and Directions:
Making a homemade gluten free cake is easy. Be sure to read all of my tips and instructions for the best results! Preheat your oven to 350º F, and be sure the oven rack is positioned in the middle of the oven. I recommend using a regular bake setting and not the convection oven for this recipe.
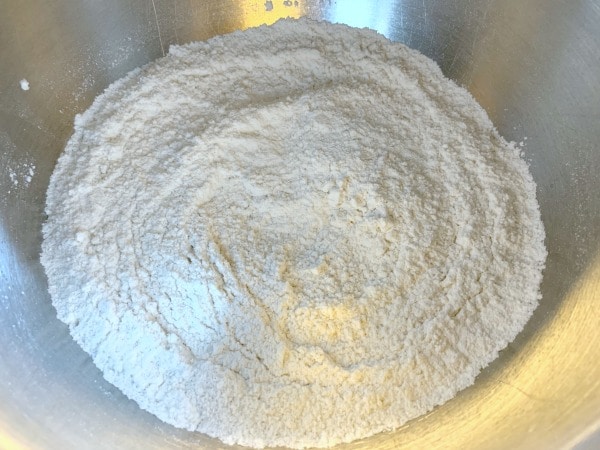
Step 1: Add the dry ingredients to a large bowl. The best way to blend the flour is with a wire whisk to blend.
To measure your gluten free flour, I recommend using the spoon method or leveling method. In a perfect world, people weigh their flour, but most do not own a kitchen scale. Every gluten-free flour blend has a different weight, making a scale even trickier. Put the measuring scoop into the flour and fill. Do not pack the flour. Use a knife to scrape along the top to remove the extra flour. You can also use a spoon to fill the measuring cup. Use a knife to level along the top to remove the extra flour.
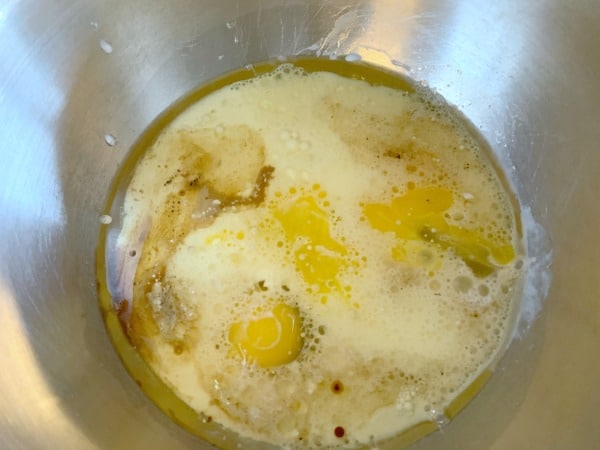
Step 2: In a smaller
🔑 Sandi says: NOTE: If you are making a white cake, see the FAQ below for specific directions. They are a little different!
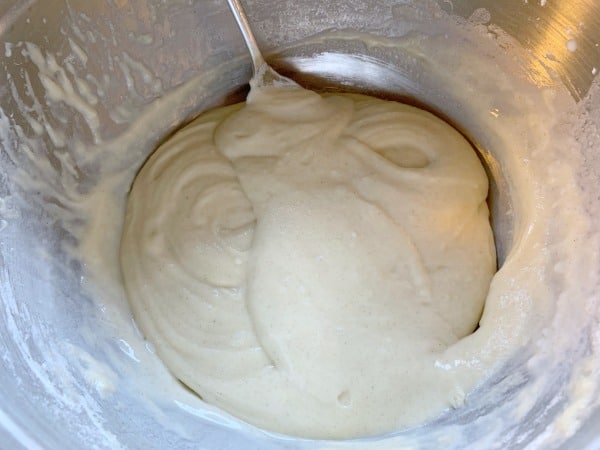
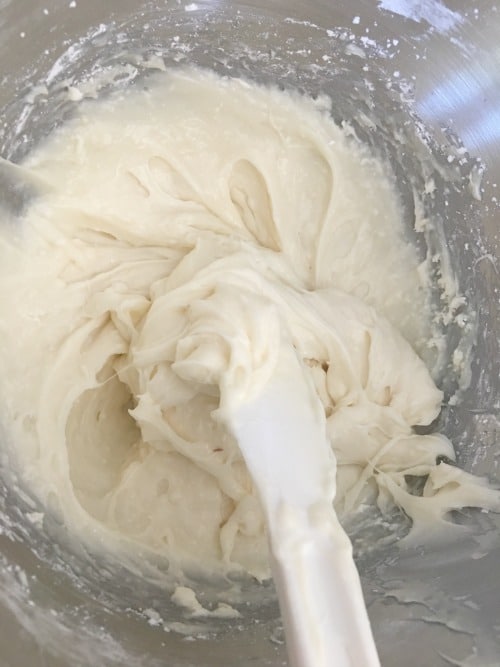
Step 3: Your gluten-free cake batter will be creamy like in this photo. Scrape down the sides to get all of the batters for the cake.
📢 Sandi says: Every gluten-free flour blend has a different starch-to-grain ratio. The brand of gluten-free flour you use will affect the moisture of the batter. If your cake batter is too runny, add more flour, and if it is too thick, add more liquids.
Read Why Gluten-Free Flour Blends Vary to learn more about this.
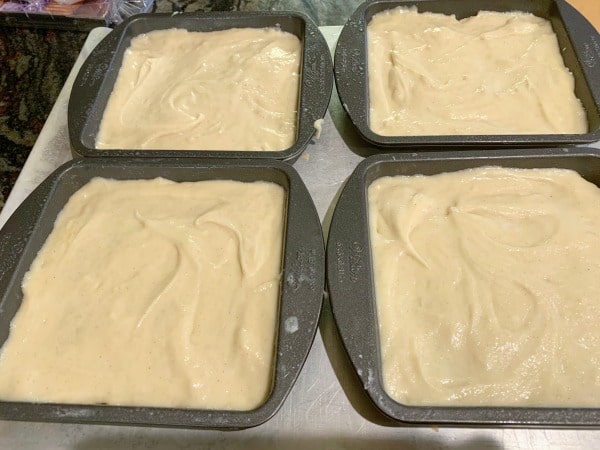
I used these cute little layer baking pans so that all my layers were the same size!
Step 4: Add the vanilla cake batter to your layer cake pans (cupcakes or sheet cake pan!) and bake. I baked the cakes for 20 minutes in these little layer cake pans. If you are using larger 9-inch cake pans, you will need to bake the cakes longer.
Remove the cake from the oven to a wire cooling rack. Let the cake sit for 3-4 minutes in the pan, then carefully tip the cake onto the cooling rack.
How do you know when the cake is finished baking?
1. The toothpick test is the most common. Stick a toothpick in the center of the cake and pull it back out. If it comes out clean and liquid-free, your cake is finished baking.
2. Another way to check is if the sides are pulling away from the pan; it is a good indicator that the cake is done.
3. You can also use your finger to check the cake’s texture. If you press down on the cake and it doesn’t bounce back up, it probably needs to cool a little longer.
Step 5: To make the gluten-free cream cheese frosting, add softened cream cheese, butter, powdered sugar, and water to a stand mixer bowl with a whisk attachment. Mix well until thick and creamy.
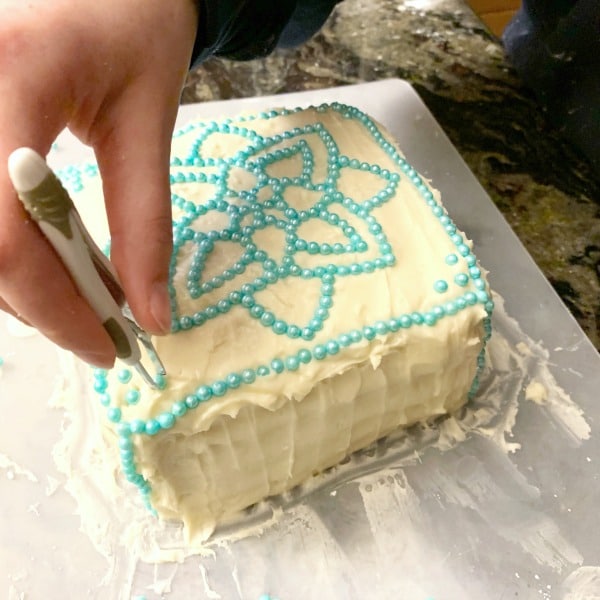
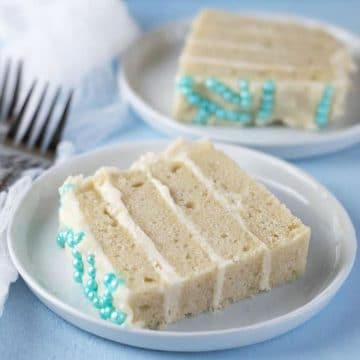
Step 6: Decorate this gluten-free vanilla cake any way you like! If you want to know what brands of sprinkles are gluten-free and celiac-safe check out my guide to gluten-free sprinkles.
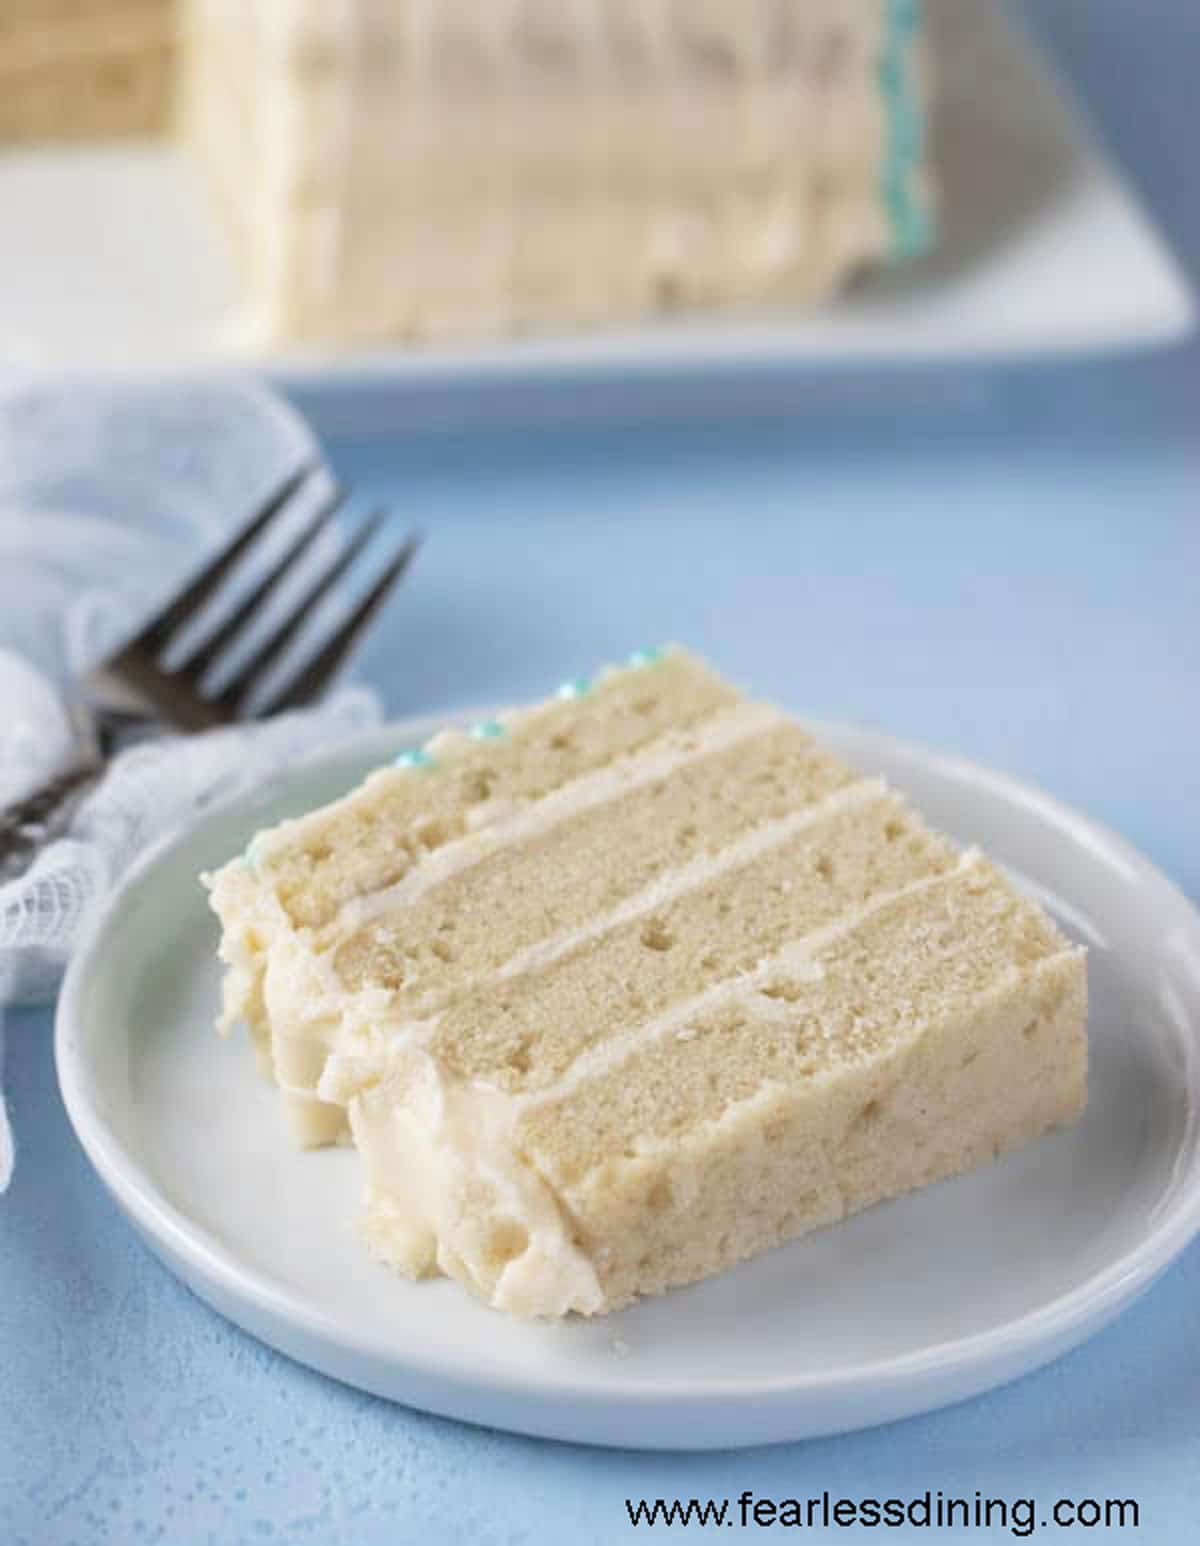
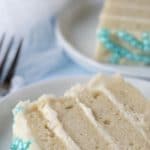
Don’t you want to grab the fork and have a bite? Many people ask if it is hard to assemble a layer cake. I can promise it looks much harder than it is!
Gluten-Free Cake Troubleshooting
Baking the perfect gluten-free cake can be tricky. The most important parts are choosing the right flour, not overmixing the batter, and ensuring the recipe liquid ratio works for the flour blend you choose.
Why did my gluten-free cake turn out dense or crumbly?
There is nothing more frustrating than having your gluten-free cake turn out dense. A few potential issues can cause this.
- I always tell my readers not to use a stand mixer when they mix cake batter. They tend to overmix your batter, leaving you with a denser cake. Mix the gluten-free cake batter only until the ingredients are combined, and avoid overbaking by checking the cake a few minutes before the suggested baking time.
- Another reason for a dense cake is that every gluten-free flour blend has a high starch-to-grain ratio. This will greatly affect the moisture level of the cake. If you are using a flour blend I didn’t test, you may need to adjust the liquid or flour amount to get the right batter consistency.
- The same answer for #2 applies if your cake is crumbly. You may need to add more liquid to your cake batter to compensate for the grain-to-starch ratio of your flour blend.
Why did my gluten-free cake sink in the middle?
- I know it is tempting to open the oven door and check on your cake, but opening the door while your cake is baking can cause it to sink in the middle. Cakes need a consistent, steady baking temperature. Opening the oven door lets cooler air into the oven, slowing the baking process.
- Always check the expiration date of your baking powder or baking soda before using it. Expired leavener will cause all sorts of issues in your baking.
- Is the cake underbaked? Know that the cake bakes from the outside in, so if you take it out of the oven too soon, the middle hasn’t had a chance to finish baking. Do the toothpick test to ensure your cake is thoroughly baked. Insert a toothpick into the center of the cake. If the toothpick comes out clean, it is done baking. If you see batter or crumbs, the cake needs to bake longer.
For more cake troubleshooting help and tips, see my Gluten-Free Cake Troubleshooting Guide.
Frequently Asked Questions:
This gluten free vanilla cake will keep up to 4 days in an air-tight container or up to 4 months in the freezer.
The secret to keeping this gluten free cake moist is not to overmix the cake batter. Mix the batter until the ingredients are just barely mixed to keep it moist and fluffy.
The easiest way to lift a cake layer onto a cake stand is by using a giant spatula. Place the spatula under the cake and raise it. You will want to make sure to hold the cake with your other hand to ensure you don’t lose balance.
To assemble a layer cake, you must first add the base layer to your plate or cake stand. Next, add a layer of frosting on top of the base layer and spread it around.
Next, you add another layer of cake and then another layer of frosting. You keep adding layers until you have used all of them. After all your layers are together, you can continue to frost and decorate the cake.
You can read more details about decorating and assembling a layer cake in my Gluten-Free Wedding Cake recipe.
Gluten-Free White Cake Instructions:
To make this gluten-free vanilla cake a white cake, you must make a few easy adaptations.
- Use only egg whites. Save your yolks for another recipe.
- Whip the egg whites until they form soft peaks (not stiff!) Add the rest of the wet ingredients and gently fold them into the egg whites.
- You will need ½ cup more milk to make the cake a white cake.
- If you want this cake to be pure white, use this clear vanilla extract.
- Gently fold the wet ingredients into the dry ingredients. Be careful not to overmix the batter.
- Add to your cake pans and bake as directed.
More Gluten-Free Dessert Ideas:
- Gluten Free Carrot Cake Cupcakes With Cream Cheese Frosting
- Easy Gluten Free Vanilla Cupcakes With Chocolate Frosting
- Gluten Free Lemon Sour Cream Cakes
- Gluten Free Chocolate Raspberry Cake Recipe
Love This Recipe?
If you made and enjoyed this recipe, I would be incredibly grateful if you could leave a comment below. Please include which flour blend you used. This helps others know that this recipe is delicious. Thank you!
Gluten Free Vanilla Cake with Cream Cheese Frosting
Ingredients
Cake:
- 2 cups gluten free flour blend * see note
- 1 cup cane sugar
- 2 teaspoons baking powder aluminum-free
- ⅛ teaspoon salt
- 3 large eggs
- ¾ cup light oil (*I used avocado oil)
- ¾ cup non-dairy milk * see note
- 2 teaspoons pure vanilla extract
Frosting
- 8 ounces cream cheese * see note
- ¼ cup unsalted butter softened
- 2 ¼ cups powdered sugar
- 1 teaspoon pur vanilla extract
Instructions
- Preheat the oven to 350º F.
- In a large bowl, add the dry cake ingredients and use a whisk to blend.
- In a smaller bowl, add the wet ingredients and whisk to mix.
- Pour the wet ingredients into the dry ingredients and mix well. Note photo above of the batter consistency.
- Spoon batter into greased cake pans, or cupcake pan.
- Bake for 20-25 minutes (for the small layer cake pans) You will want to bake longer for larger pans. Use the toothpick method described below to know when your cakes are done.)
- Remove the cake layers from the oven and allow to cool on a cooling rack. If you are making a layer cake, inspect each layer for bumps (if one area of the cake rose more)
- Use a knife to level any bumps to make your cake layers flat.
- Place the bottom layer of cake on a cake stand. Add frosting to the top of the layer. Place the next cake layer on top of the frosting, and frost that layer. Repeat until all layers are frosted.
- To make the gluten free cream cheese frosting, add softened cream cheese, butter, powdered sugar, and a bit of water to a bowl and mix well until thick and creamy.
- Use a cake spatula to frost the top and sides of the cake. Decorate how you like.
Video
Notes
- I have tested this recipe with King Arthur Measure for Measure GF, Bob’s Red Mill 1 to 1 GF blend, and Authentic Foods Multi Blend. That doesn’t mean others will not work, I just have not tested other flours.
- If your gluten-free flour blend doesn’t contain Xanthan Gum, add 1 teaspoon.
- I used almond milk but other dairy-free kinds of milk will work, but I do not recommend canned coconut milk.
- The cake is naturally dairy-free. To make this fully dairy-free you need to alter the frosting ingredients by substituting the butter for vegan butter and using vegan cream cheese.
- To test for doneness, insert a toothpick into the center of the cake. If the toothpick comes out clean, it is done baking. If you see batter or crumbs, the cake needs to bake longer.
- This cake will keep up to 4 days in an airtight container, or up to 4 months in the freezer.
- See my Gluten-Free Cake Troubleshooting Guide for more tips and any troubleshooting issues.
To Make This a White Cake:
- Use only egg whites. Save your yolks for another recipe.
- Whip the egg whites until they form soft peaks (not stiff!) Add the rest of the wet ingredients and gently fold them into the egg whites.
- You will need ½ cup more milk to make the cake a white cake.
- If you want this cake pure white, use clear vanilla extract.
- Gently fold the wet ingredients into the dry ingredients. Be careful not to overmix the batter.
- Add to your cake pans and bake as directed.
SPECIAL NOTE
Please know that every gluten free flour blend has a different starch to grain ratio. If you use a blend I didn’t test, you may need to adjust your moisture levels in your baked goods.
Nutrition
Nutrition Disclaimer
Nutritional information is an estimate provided to you as a courtesy. You should calculate the actual nutritional information with the products and brands you are using with your preferred nutritional calculator.
