
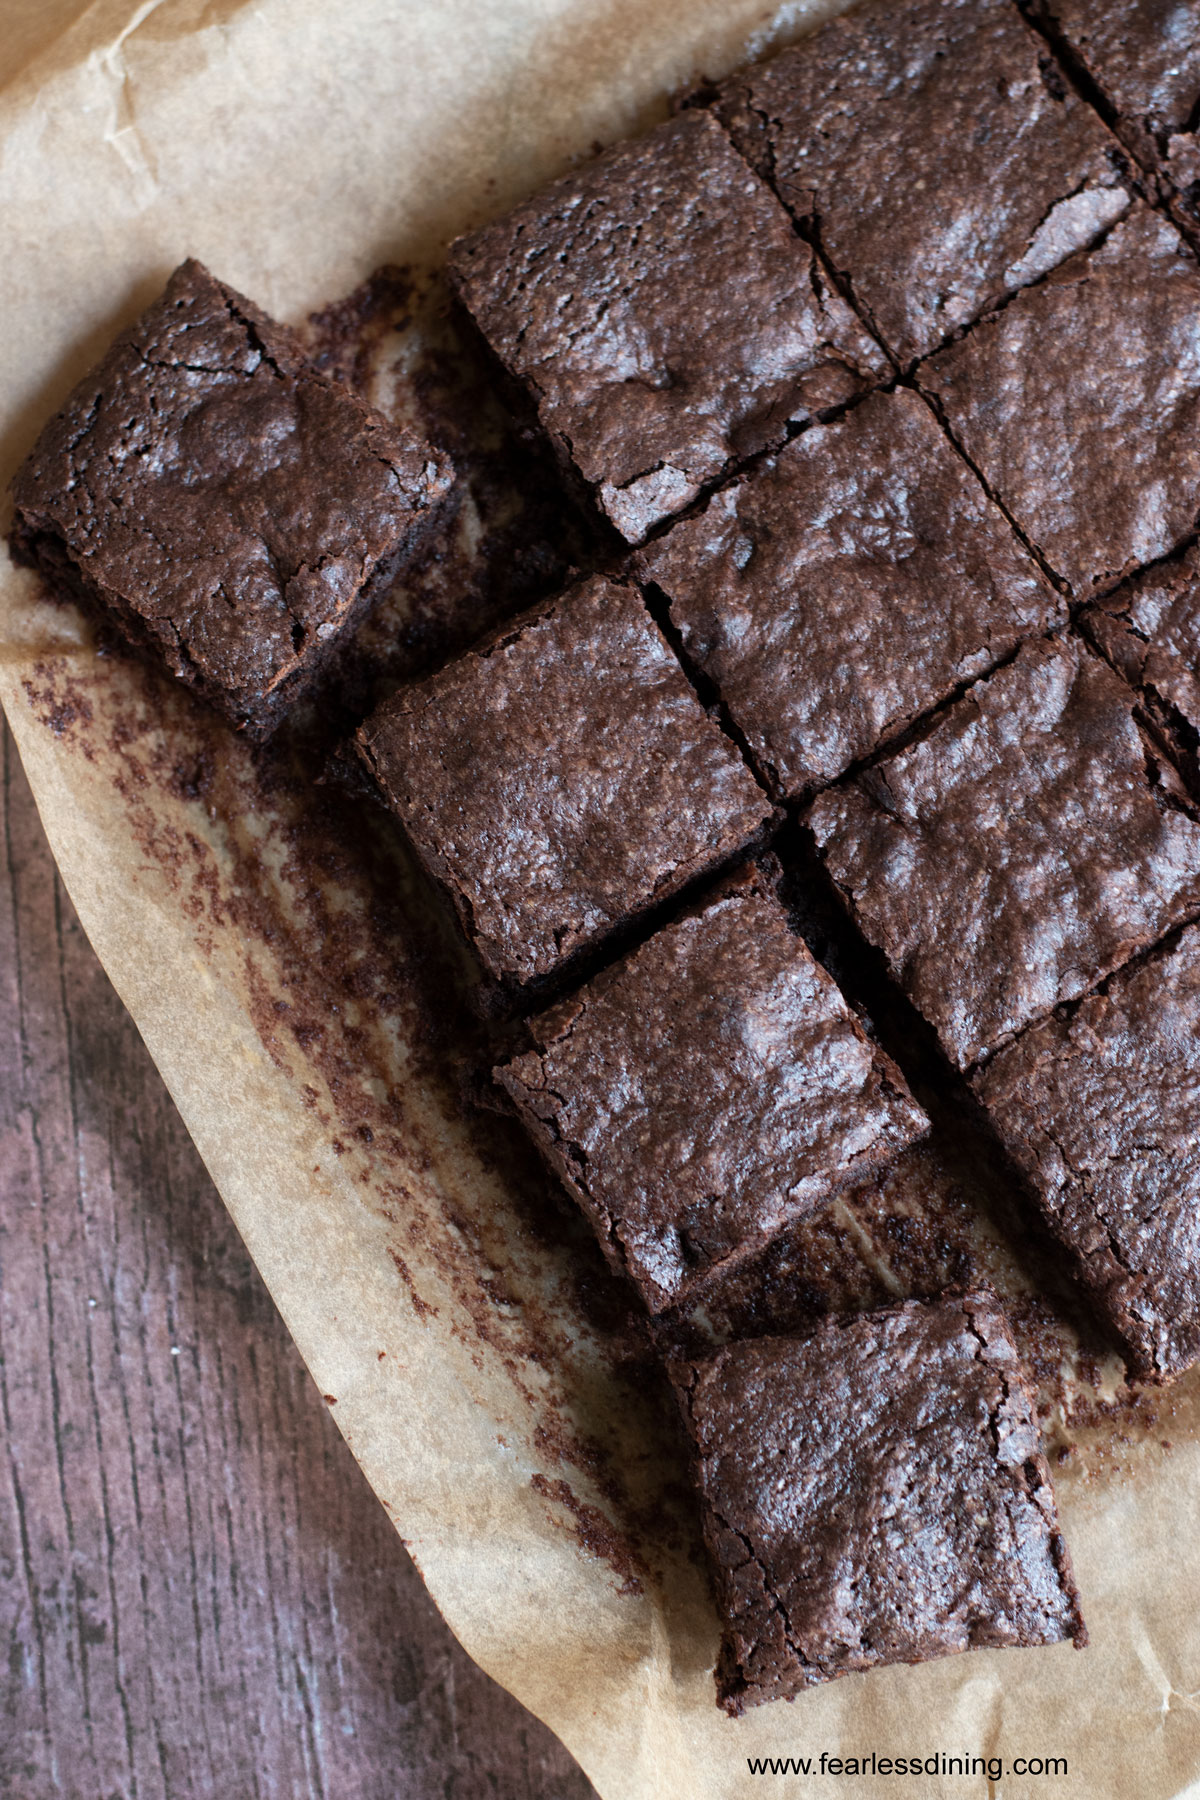
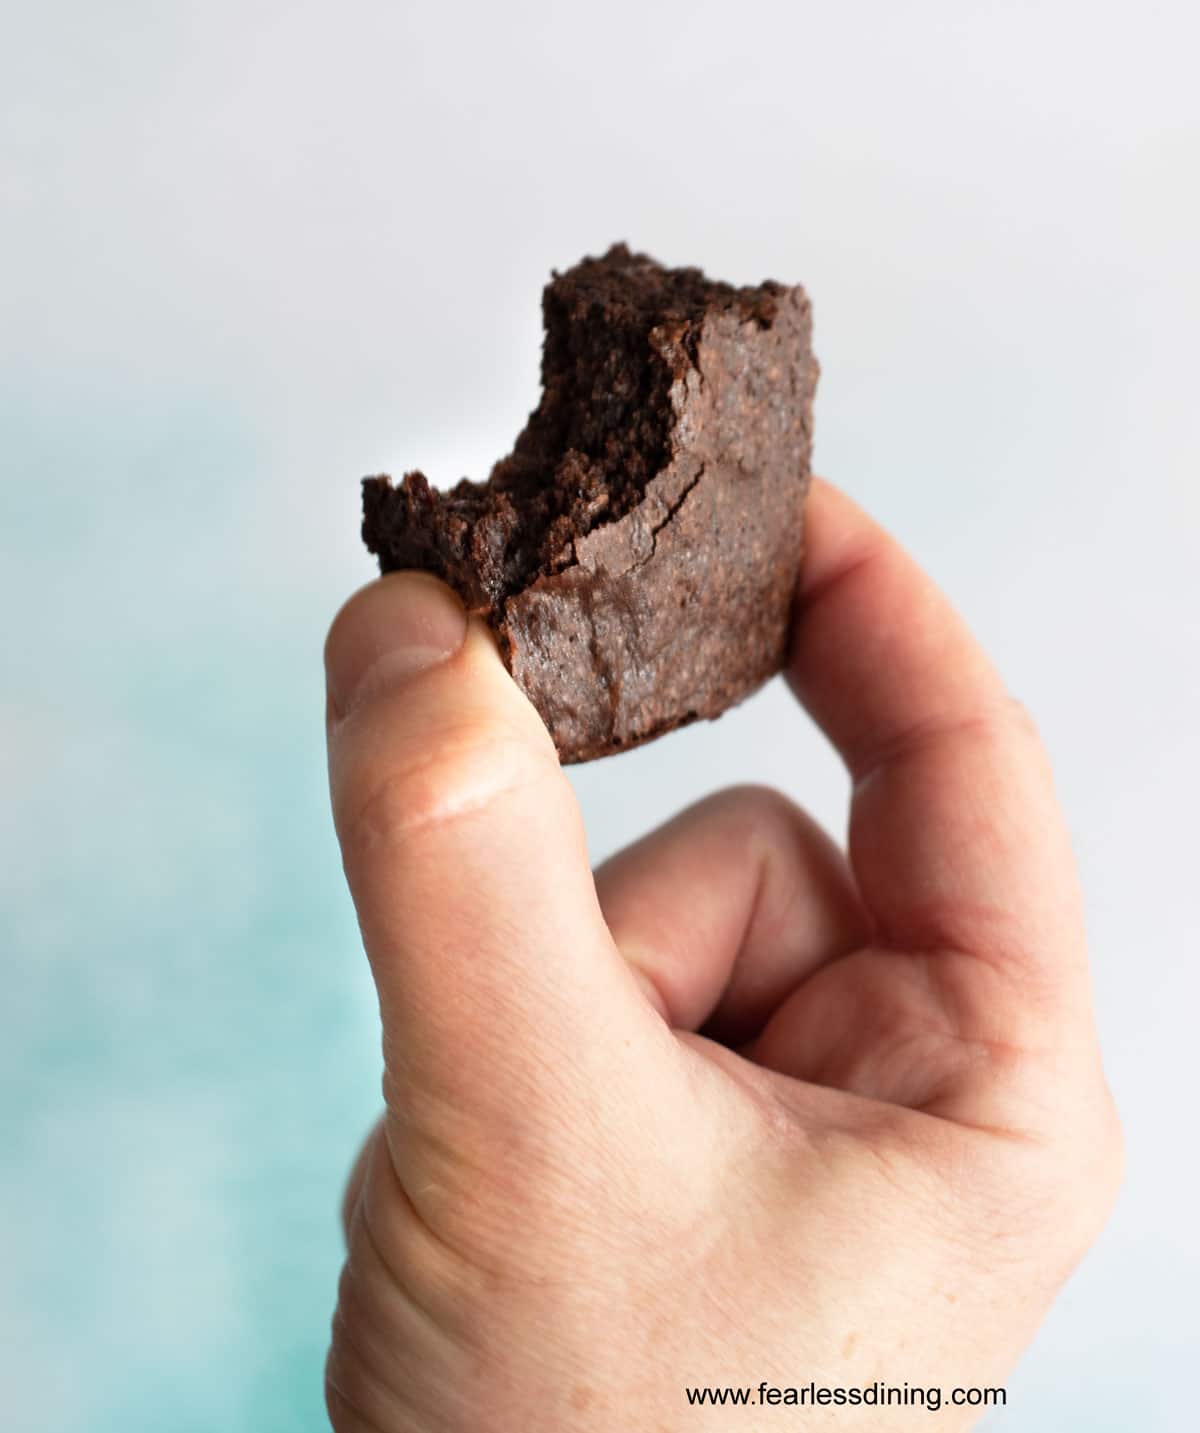
If you love rich chocolate desserts, these fudgy gluten-free brownies are going to hit the spot. They are made with simple ingredients, such as gluten-free flour, cocoa powder, chocolate chips, oil, eggs, and sugar. They are chewy, gooey, and topped with that signature crackly crust, plus, they are completely dairy-free! Use your favorite mix-ins and enjoy warm or chilled.
This post may contain affiliate links. Please read our Disclosure Policy.
❤️ Sandi’s Summary
- These brownies are super fudgy, rich, and have the perfect crinkle top. They come together in 30 minutes, making them perfect for when a serious chocolate craving hits.
- Works with any mix-ins (nuts, chips, candies!)
- Nobody will guess they’re gluten and dairy-free.
- Kid-approved and freezer-friendly! These are easy to make ahead!
[👉 Jump to Recipe]
This gluten-free, dairy-free brownie recipe was one of the first I ever published; originally shared in 2014, and it’s still wildly popular today. Today, I am upping my brownie game. I tweaked the recipe to make it fudgier and wrote up the directions to include even more tips for the perfect no-fail gluten-free chocolate brownie!
I love to use this recipe as a base for my Gluten-Free Pumpkin Swirl Brownie recipe during the fall. I have also used this recipe to make these Gluten-Free Pecan Pie Brownies.
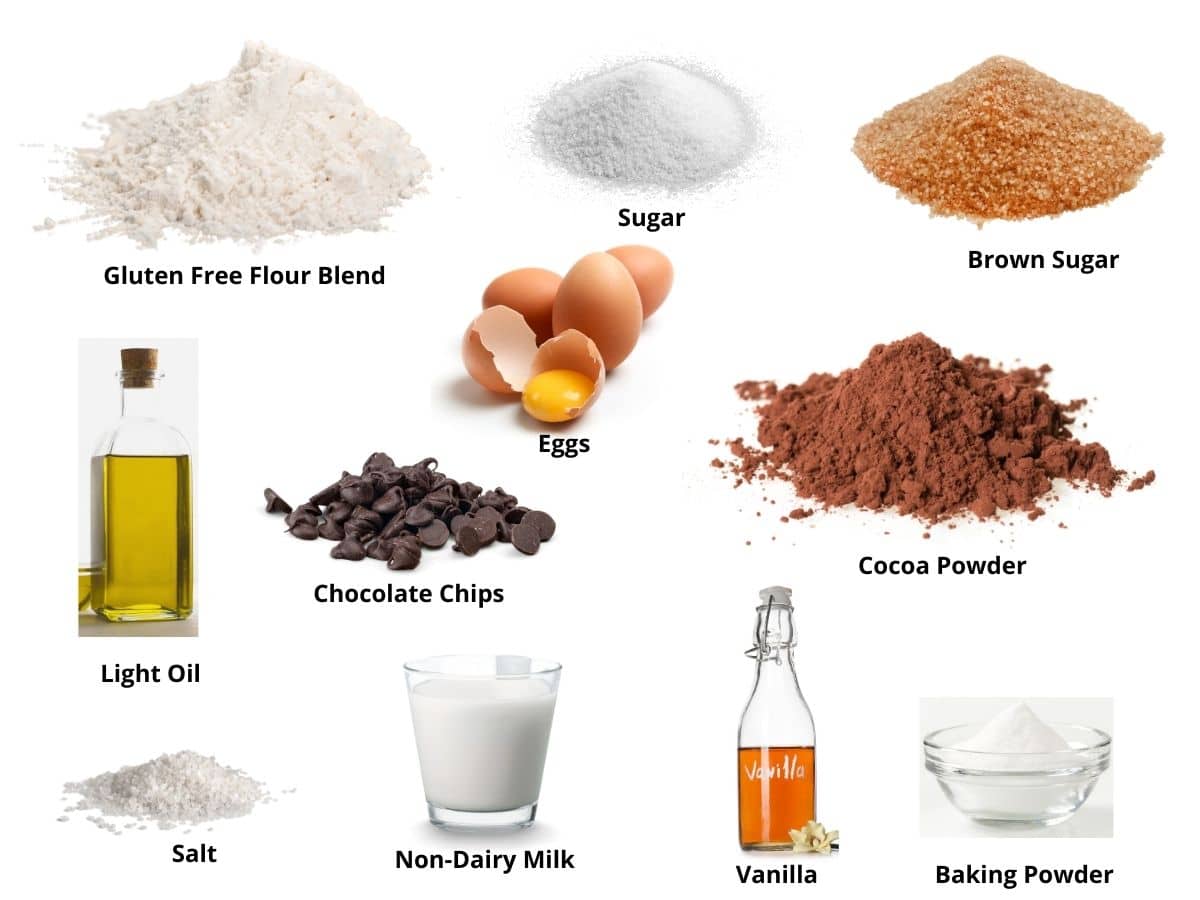
Ingredient Notes:
For the full list of ingredients and amounts, please go to the recipe card below.
- Gluten-Free Flour Blend – I tested this recipe using Bob’s Red Mill 1 to 1 Gluten-Free Flour Blend and King Arthur’s Measure for Measure. Tested with Bob’s Red Mill 1:1 and King Arthur Measure for Measure. Both contain xanthan gum, which helps hold the brownies together. If your blend doesn’t have a binder, add 3/4 tsp of xanthan gum.
- Brown and Cane Sugars – This combo sweetens the brownies while brown sugar adds moisture and helps form the crinkled top. The brown sugar will add to the fudgy flavors.
- Baking Powder – Use aluminum-free baking powder. If you use regular cocoa powder, it is important to use 1/2 tsp of baking soda instead of the baking powder.
- Non-Dairy Milk – I tested with almond milk, but dairy-free milk (like oat or soy) should work. Avoid canned coconut milk, which is too thick. Regular milk will also work if you can have dairy. I do not recommend canned coconut milk.
- Cocoa Powder – Use a rich, gluten-free cocoa like Anthony’s Dutch Process or Ghirardelli. The cocoa is the star here. Better cocoa = deeper chocolate flavor.
- Cooking Oil – These gluten-free brownies with oil benefit from neutral oils like canola or light olive oil work well. Coconut oil adds a hint of coconut flavor if you like that.
- Eggs – Use large eggs. They bind the ingredients and give structure to the brownies.
- Vanilla Extract – I really recommend using pure vanilla extract and not imitation. Pure vanilla adds depth and enhances the chocolate flavor.
- Chocolate Chips – If you are dairy-free, I recommend Enjoy Life Chocolate Chips. Otherwise, feel free to use your favorite gluten-free chocolate chip brand. Note: Wilton chocolate is made on shared equipment with wheat, so avoid this brand if you are Celiac.

A Note From My Kitchen
If your batter looks thicker or thinner than mine, don’t panic! Every gluten-free flour blend absorbs liquid a little differently. If your batter is too thick, stir in a tablespoon or two of milk. If it’s too runny, sprinkle in more flour. My step-by-step photos are here to guide you. I want this to work on your very first try!
How To Make Gluten Free Brownies (Step-By-Step):
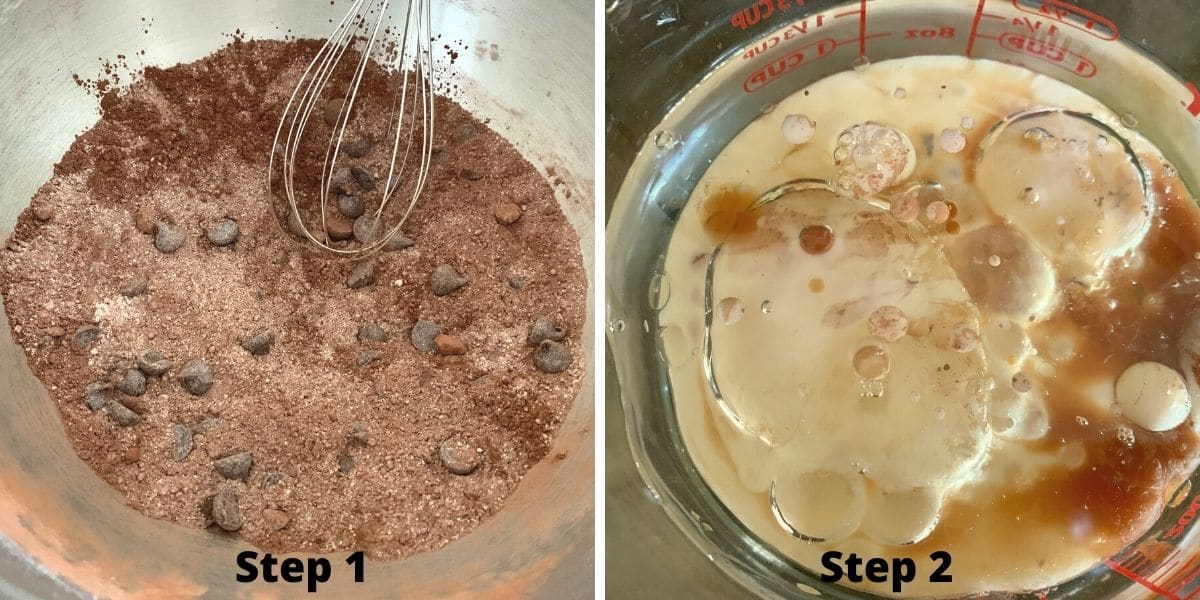
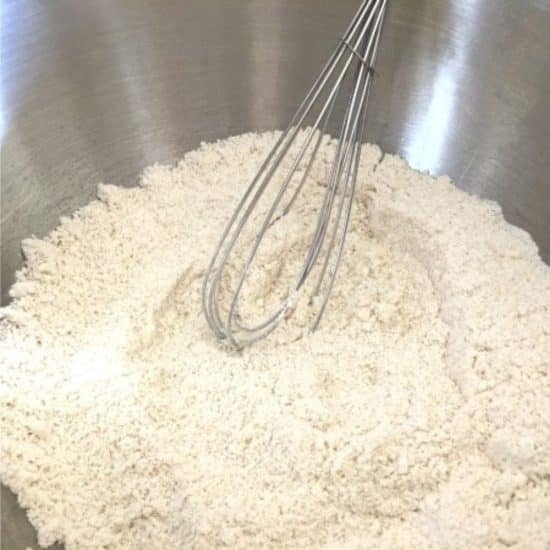
Step 1: Whisk together the dry ingredients and add in any mix-ins, like chocolate chips, nuts, or anything you like. See the mix-in suggestions below for some fun ideas!
Step 2: Whisk together all of the wet ingredients.
👀 Sandi Says: You can also make this recipe using a stand mixer or hand mixer. Add the wet ingredients to the mixer bowl to use one of these. Blend the wet ingredients using the paddle attachment for 20-30 seconds. Gradually add in the dry ingredients. Mix in the chocolate chips by hand with a large spoon.

Step 3: Combine the wet and dry ingredients and mix until you get a soft brownie batter.
Step 4: Compare your brownie batter consistency to mine.
🔑 Sandi says: I share the photos so you can compare your brownie batter to mine. Every gluten-free flour blend has a different starch-to-grain ratio, which affects the moisture level. If your brownie batter is thicker, add more milk. If your batter is more runny than mine, add more flour blend.
Email This Recipe To Me!
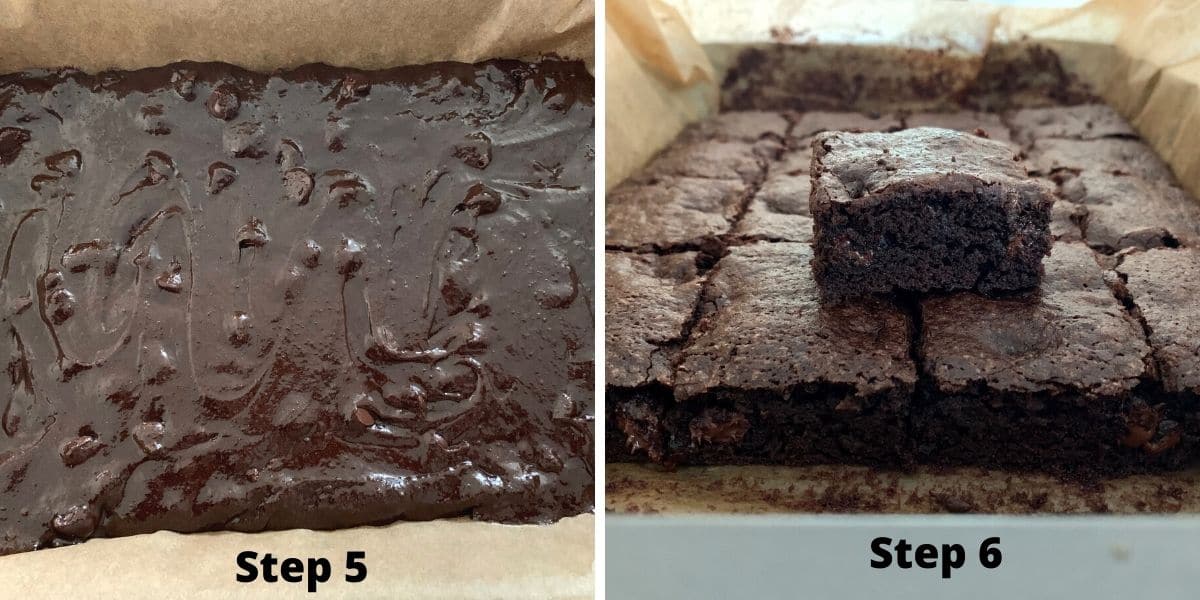
Step 5: Line a metal 9×13 pan with parchment paper or use a gluten-free baking spray. (Note, PAM Baking Spray is not gluten free! If you love brownie edges…this Brownie Edge Baking Pan ensures everyone gets crisp edges!
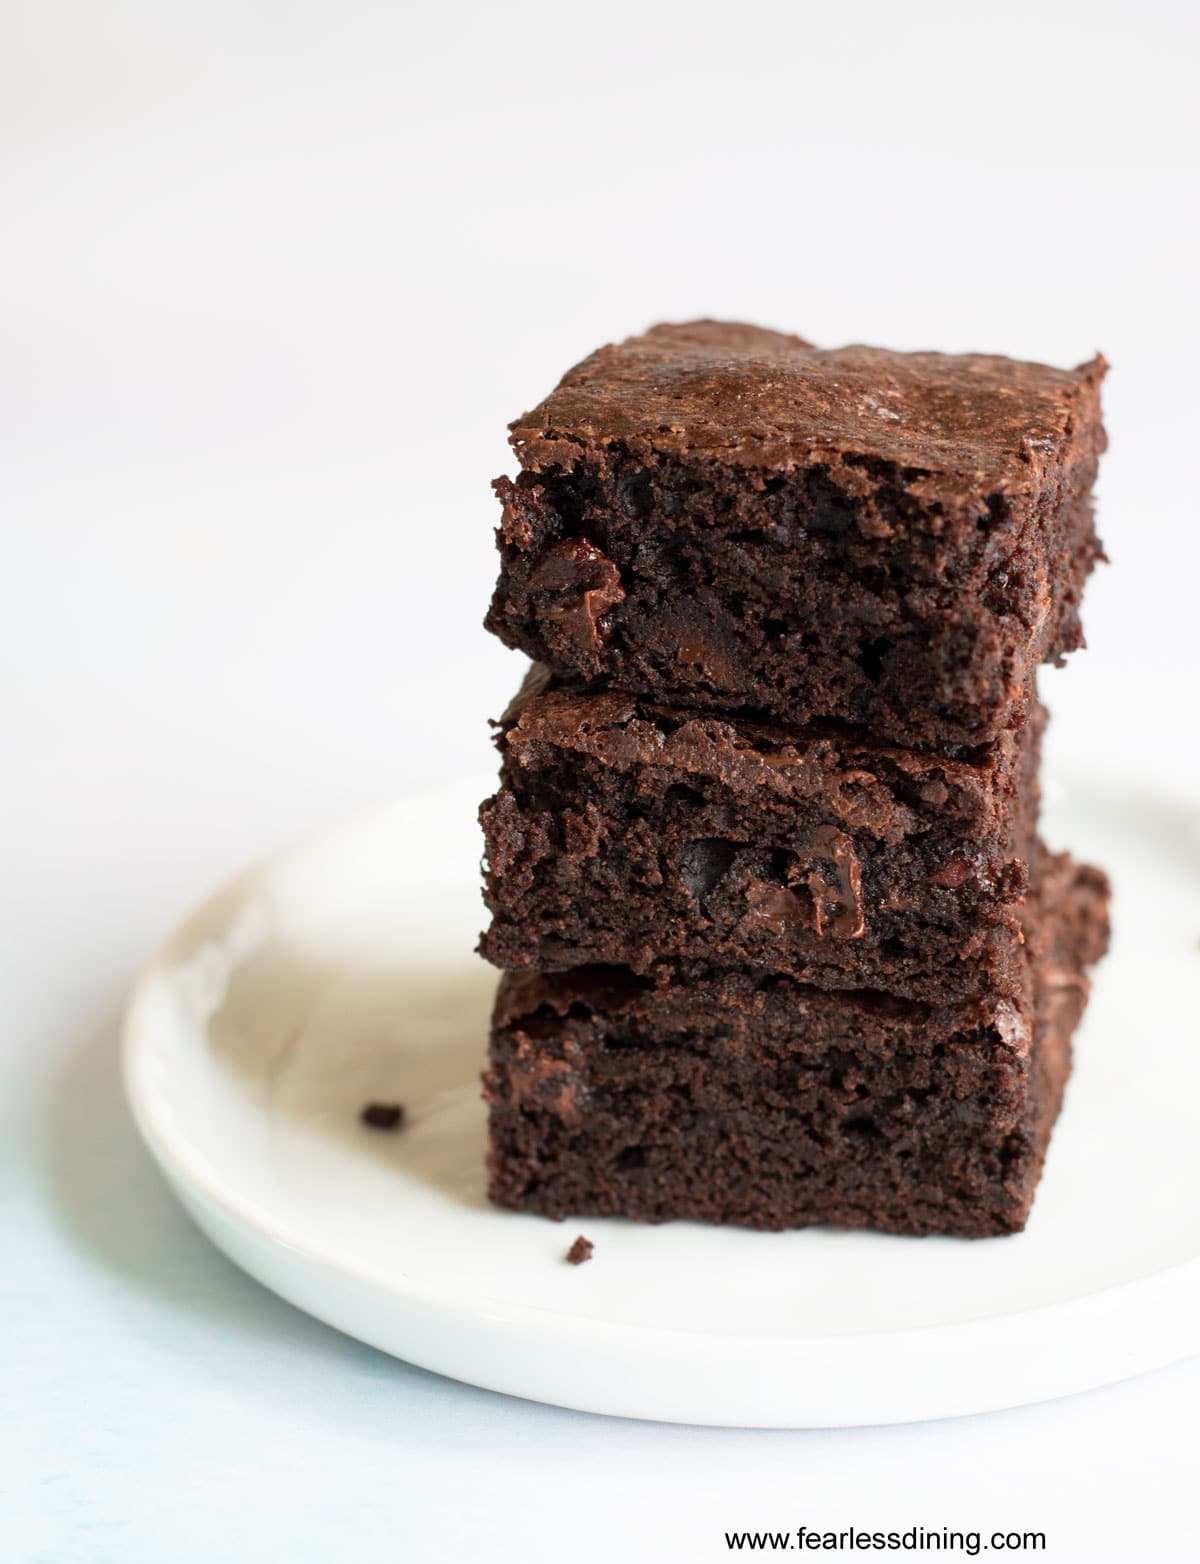
Step 6: Wait until the brownies are cooled before slicing them. I hope you agree these are the best gluten-free brownies ever. If you do, please leave a comment below.
Tips For Success
- Measure the flour blend carefully. Spoon the flour into the measuring cup. Do not pack the flour in; you will have too much flour and dry brownies! My rule of thumb is if your batter or dough is too runny, add more flour; if it is too thick, add more liquids.
- Use the right flour blend. My guide to What Flour Blends Work in What Types of Recipes to ensure your flour blend is right for making brownies!
- If your cocoa powder has lumps, sift the cocoa powder into the dry ingredients.
Gluten-Free Brownie Troubleshooting:
Making homemade gluten-free brownies from scratch can be challenging from the start. Here are some more tips to make the perfect brownies.
- Brownies too dry? You may have packed in too much flour. Spoon and level it instead of scooping.
- No crinkled top? Make sure to whisk the sugars into the wet ingredients well.
- Brownies crumbling when sliced? Let them cool completely before cutting them. This helps them set.
I have lots of helpful Gluten-Free Baking Tips for better baking.
Ways To Use This Brownie Recipe:
Get creative with this recipe!! Brownies are great to eat as you normally would, but why not use this recipe to make these gluten free brownies even more fun?
- Make them thinner by using a larger baking dish, and use these brownies to make gluten-free ice cream sandwiches!
- Use the brownie batter in a tart pan as a base for a tart.
- I love using my gluten-free brownie recipe as a base for these Gluten-Free Almond Joy Bars.
- Use this brownie recipe as a bottom layer, as in these Gluten-Free Brownie Cheesecake Bars.
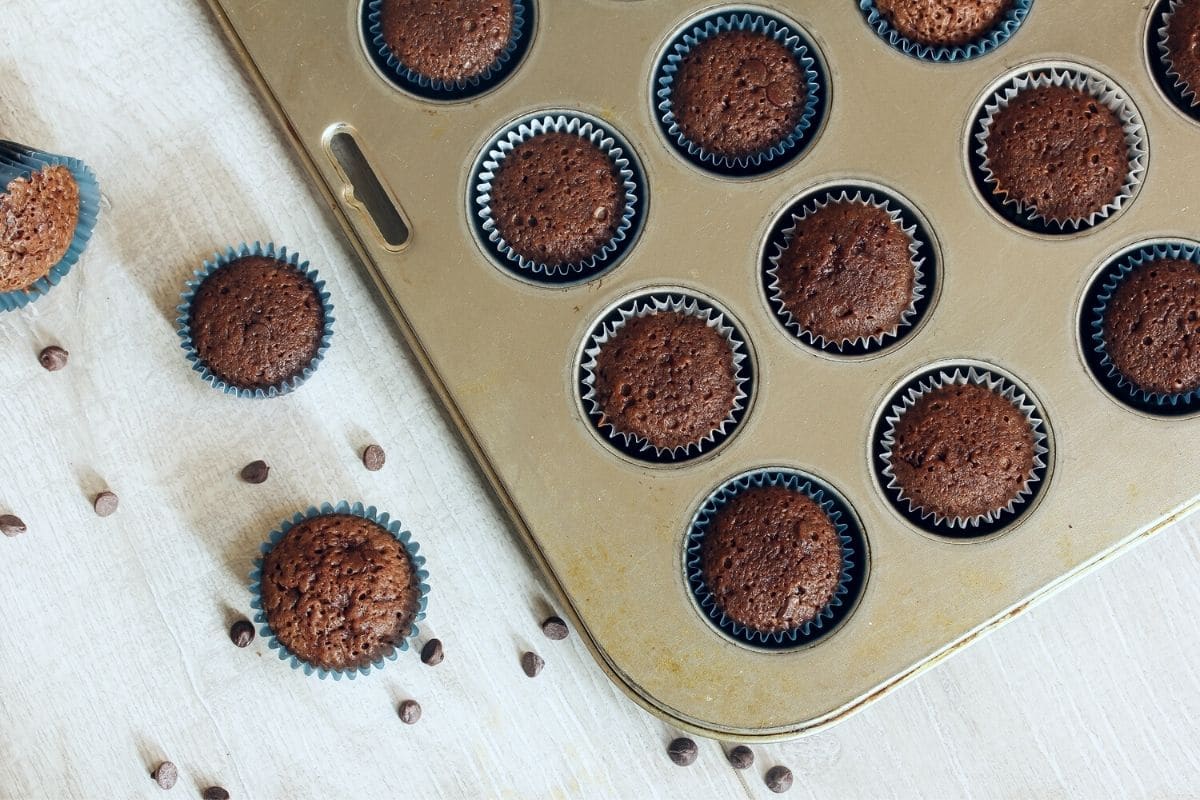
- You can also make fun Gluten-Free Brownie Bites, shown above, which are fun to decorate!
- Top them with Gluten-Free Frosting!
- Did you know you can even make a delicious Gluten-Free Brownie Cake?
Use cookie cutters to make shapes to decorate for your favorite holidays! These really are delicious and, in our opinion, the best gluten-free brownies EVER! You may also want to try my new Gluten-Free Espresso Brownies recipe!
Frequently Asked Questions:
If you have questions, I have answers!! If you have a question that you do not see here or that was not answered in the post, please drop me a comment, and I will respond to your question quickly!
Yes! If you’re not dairy-free, you can swap the oil for unsalted butter using the same amount (8 tablespoons). Melt it before mixing it in.
I haven’t tested this with an egg replacer, but readers have reported success using Bob’s Red Mill Egg Replacer or 2 flax eggs.
I love using Anthony’s Dutch Process Cocoa and Ghirardelli—both offer rich chocolate flavor and are gluten-free. Always double-check the label, as some brands can change their manufacturing practices.
Yes! Use a 9×13 pan for thinner brownies or an 8×8 for thick ones. You may need to adjust baking time by 5–10 minutes.
These brownies will keep fresh for up to 3 days in an airtight container. If you do not plan to eat them within 2-3 days. I recommend freezing the leftover brownies. They will last in the freezer for up to 4 months. Freeze them in a freezer-safe zipper bag.
Yes, they’re great for making ahead! Once cooled and sliced, store them in an airtight container or freeze them for later. They’re perfect for a delicious treat or holiday baking.
I have kept this delicious gluten-free brownie recipe over the years, tweaking it depending on what I have. It is perfect for chocolate lovers! You may also love this flavor variation, Gluten Free Chocolate Mint Brownies. If you are a chocoholic, you will want to try all of my delicious gluten free chocolate dessert recipes.
More Gluten Free Chocolate Desserts:
If you love chocolate, I have so many incredible recipes for chocoholics. These are all well-tested recipes I encourage you to try!
Love This Recipe?
💬 Did you make this brownie recipe? Drop a comment below, and let me know how it turned out! ⭐⭐⭐⭐⭐ Please include which flour blend you used. This will help others see that this recipe is delicious. Thank you!
Fudgy Gluten Free Brownies
Ingredients
- ½ cup Dutch process cocoa powder * see note
- 1 cup gluten free flour blend * see note
- 1 teaspoon baking powder or 1/2 baking soda * see note!
- ½ cup brown sugar
- 1 cup cane sugar
- ½ cup light oil * see note
- ½ cup non-dairy milk or regular milk
- 3 large eggs
- 2 teaspoons pure vanilla extract
- ¼ teaspoon salt
- 6 ounces chocolate chips
Equipment
Method
- Preheat the oven to 350º F and move the oven rack to the middle of the oven position. Use the bake cycle, not convection, so your brownies bake evenly.
- In a large mixing bowl, whisk together the following: 1 cup gluten free flour blend, 1/2 cup Dutch process cocoa powder, 1 cup cane sugar, 1/2 cup brown sugar, 1/4 teaspoon salt, and 1 teaspoon baking powder or 1/2 baking soda. Again, if you use regular cocoa powder, you will use 1 teaspoon baking soda instead of the baking powder, which will help the brownies rise slightly while staying fudgy.
- If you plan to add chocolate chips, chopped nuts, or other mix-ins, stir them into the dry ingredients now.
- Place the 6 ounces chocolate chips into a microwave-safe dish. Melt at 20 second intervals, stirring between each interval. Repeat until the chocolate is melted.
- Add the 1/2 cup light oil, 3 large eggs, melted chocolate chips, 2 teaspoons pure vanilla extract, and milk or 1/2 cup non-dairy milk to a mixing bowl. Use a whisk for 15 seconds until all the wet ingredients are mixed.
- Slowly pour the wet ingredients into the dry ingredients, stirring gently with a large spoon or rubber spatula until a thick, rich chocolate brownie batter forms.
- Line a metal 9×13 pan with parchment paper. This will make lifting your brownies out of the pan much easier.
- Bake the brownies for 22-25 minutes. If you bake in a glass pan, your brownies may need longer to bake, and metal pans tend to bake faster.
- Let them sit in the pan for five minutes, then lift them gently out of the pan by the edges of the parchment paper. Place the brownies on a cooling rack. Don't slice them until they are fully cool.
- You will know the brownies are done baking when the top is firm to the touch. They are so fudgy, the typical toothpick test won't work so the touch test is the best way to know.
Nutrition
Notes
- I have tested this recipe with King Arthur Measure for Measure GF and Bob’s Red Mill 1 to 1 GF blend. That doesn’t mean others will not work, I just have not tested other flours.
- If your blend doesn’t have a binder, add 3/4 teaspoon of xanthan gum.
- I used Ghirardelli Dutch process cocoa powder. If you use regular cocoa powder, swap the baking powder for 1/2 tsp baking soda!
- Any light, unflavored oil will work well in this recipe.
- I used almond milk, but other dairy-free kinds of milk will work. I do not recommend canned coconut milk.
- You can make this brownie recipe in tart pans or bake it in a metal 9×13 pan.
- These brownies will keep fresh for up to 4 days in an airtight container or up to 4 months in the freezer.
Private Notes
Tried this recipe?
Let us know how it was!
Gluten-Free Related Reading
Gluten-free baking is like a science experiment. There are so many things you need to understand the different components of baking without gluten. My Gluten-Free Resources Section is here to help teach you the tools you need to know to become a confident gluten free baker.
My Best Gluten-Free Baking Tips For Better Baking!
Why Binders Are Important In Gluten-Free Baking

The Best Gluten Free Flour Blends – And how to use them!
I truly hope you enjoy this recipe. I have been testing and creating gluten-free recipes for over 15 years. Creating gluten-free recipes that do not taste gluten-free is my goal for every recipe. Sometimes I only have to test a new recipe a couple of times, and others it takes multiple times. I do this so you get reliable, delicious results every time!

These were absolutely delicious
I am so glad you loved the brownies, Mary. Thank you for coming and leaving a review.
delicious and easy
I am so glad you love this brownie recipe, Brenda. Thank you so much.